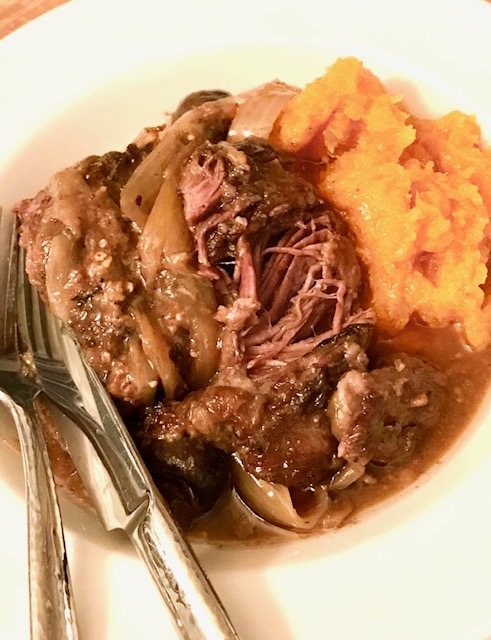
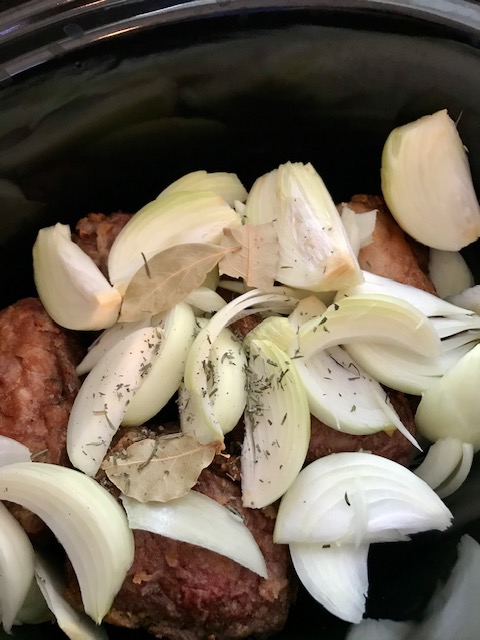
Simple searing and then transferring to a slow cooker creates this fabulous super tender dish. Perfect for a winters’ day.
Serves approx. 4
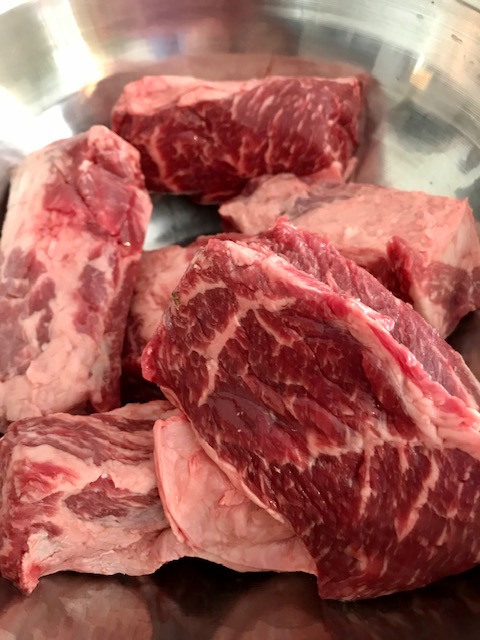
3 lbs. beef short ribs (about 6 ribs)
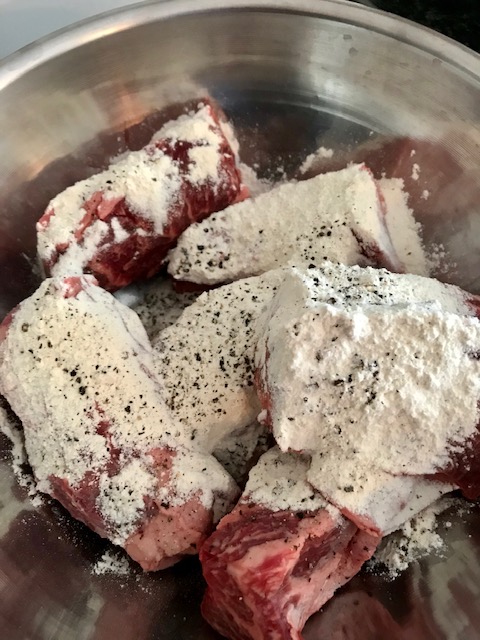
1/2 cup flour
2 medium onions, roughly chopped
salt and pepper to season
3 tbsp. vegetable oil
2 bay leaves
1/2 tsp. dried rosemary
3 sprigs of fresh thyme (or 1/2 tsp. dried)
3 cloves garlic, minced
1 1/2 cups bone broth
1 – 2 cups chopped mushrooms (optional)
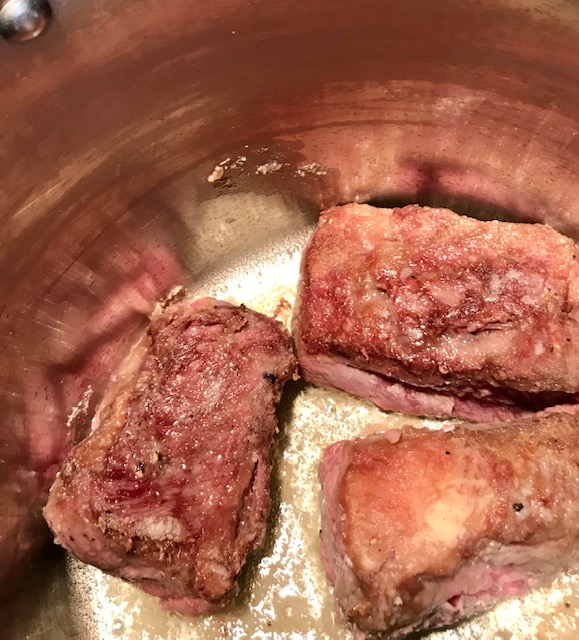
Place the flour in a bowl and dredge the ribs to coat all sides. Place the oil in a large pan or dutch oven and turn to medium/high heat. Sear the ribs so they are browned on all sides.
When well browned, remove from pan and transfer to a slow cooker. Season with salt and pepper. Add the seasonings, garlic, chopped onions and mushrooms. Cover with the bone broth and cook for 6-8 hours or until the meat is completely fork tender. Remove the bay leaves and serve.
1 pound split peas, picked through for pebbles then rinsed with cold water
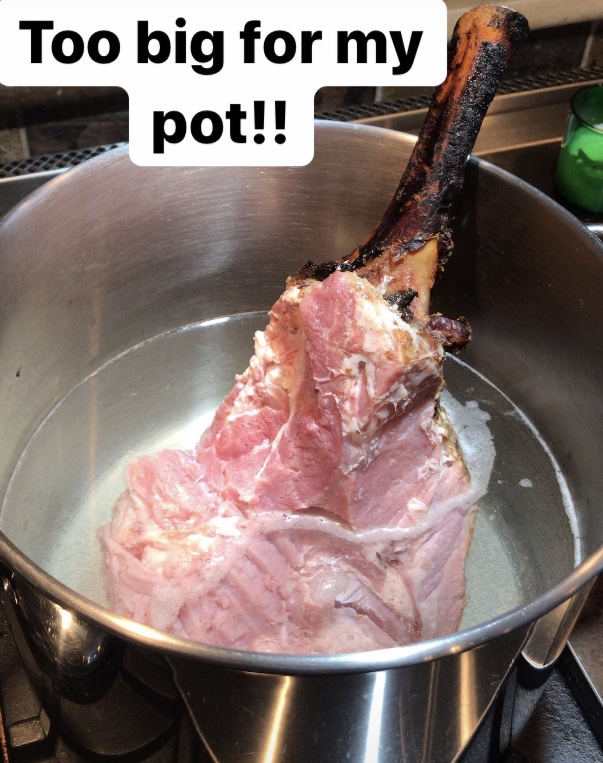
One left-over ham bone
Chopped ham from the bone – or add 1-2 cups of chopped smoked ham
8 cups ham bone broth
To make the broth:
Place the ham bone in a large pot and cover with approx. 8 cups of water. Bring to a boil, then reduce the heat and allow to gently boil for approx. 2 hours to create a flavorful broth. Remove the bone and cut up any of the remaining ham and set aside. This step can be done a day or so in advance.
Directions:
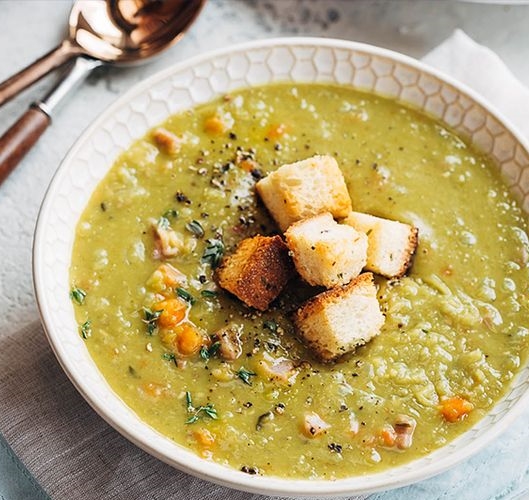
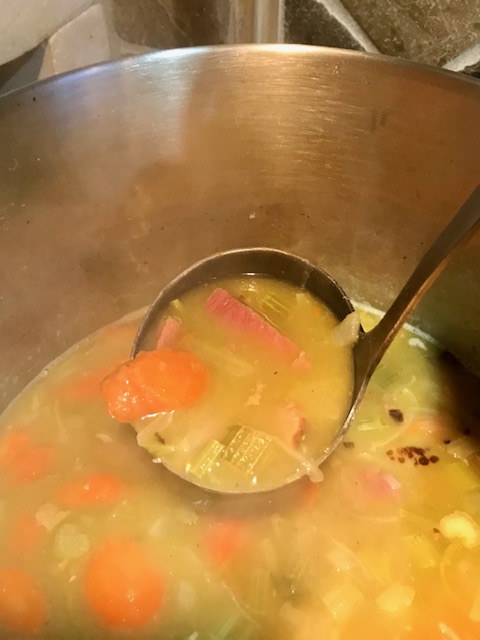
In a large sauce pot, heat the olive oil over medium heat. Add the celery, garlic, carrots and onion, and saute for 15 minutes to build flavor, seasoning with salt and pepper as you go. Add the thyme and bay leaf, and cook on low for 3 more minutes. Add the split peas, ham and stock. Remember to season lightly as you cook. Cook until the peas are tender and the soup has come to desired consistency. If you prefer a less thick soup, just add more water or broth.
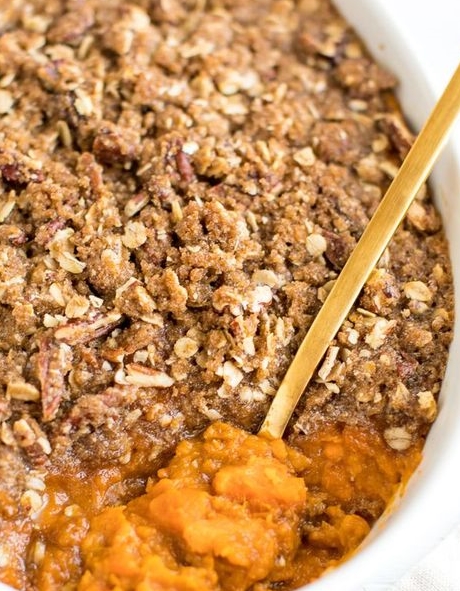
This casserole is a must-have at our Thanksgiving table. It is certain to be a family favorite for you as well!
3-4 medium sweet potatoes
1/2 cup white sugar
2 eggs, beaten
1/2 tsp. salt
4 tbsp. butter, softened
1/2 cup evaporated milk
1 tsp. vanilla
For the topping
1/2 cup packed brown sugar
1/3 cup flour
1 tsp. cinnamon
3 tbsp. butter, softened
1/2 cup chopped pecans
Preheat oven to 325F. Place the sweet potatoes on a foil-lined baking sheet and bake until cooked through, approx 40-50 minutes. Remove from the oven, allow to cool enough to handle. Peel the potatoes and place in a large mixing bowl. Mash the potatoes with a potato masher. Mix together the potatoes, white sugar, eggs, salt, butter, evaporated milk and vanilla. Mix until smooth. Transfer to a 9×13″ baking dish.
For the topping – in a medium bowl, mix the brown sugar, flour and cinnamon. Cut in the butter until the mixture is coarse. Stir in the pecans. Sprinkle the mixture over the sweet potatoes.
Bake in preheated oven 30 minutes or until the topping is lightly browned.
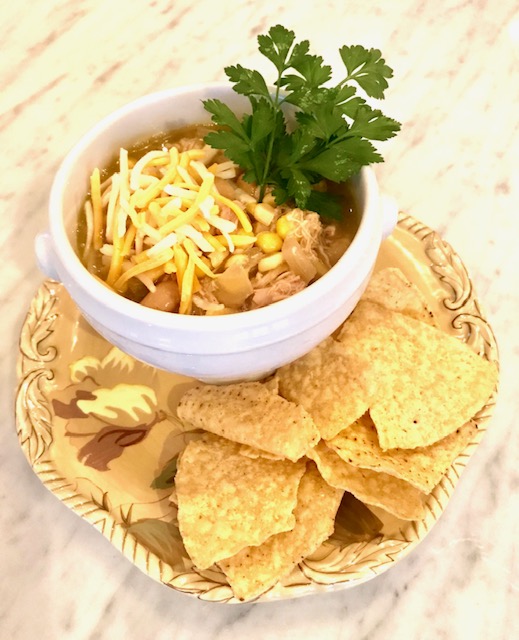
1. In a blender or mini food processor, blend ½ cup of the chicken broth with half of your prepared cannellini beans (15ouces), and puree. This will act as a natural thickener for your chili. Reserve the rest of the chicken broth and cannellini beans for the chili. 2. In a crock pot, put your chicken thighs in first, and then add your pureed chicken broth/bean mixture. 3. Add in the rest of your ingredients, including the reserved chicken broth and cannellini beans. 4. Cook on high heat for 6 hours. 5. With tongs, grab the chicken out of the pot (it should be fully cooked through), and shred it with a fork, then return it to the chili pot. 6. Cook on low another hour or so, until the flavors have melded together. 7. Serve, and garnish with crushed tortilla chips, avocado, cilantro, and other toppings of your choice.
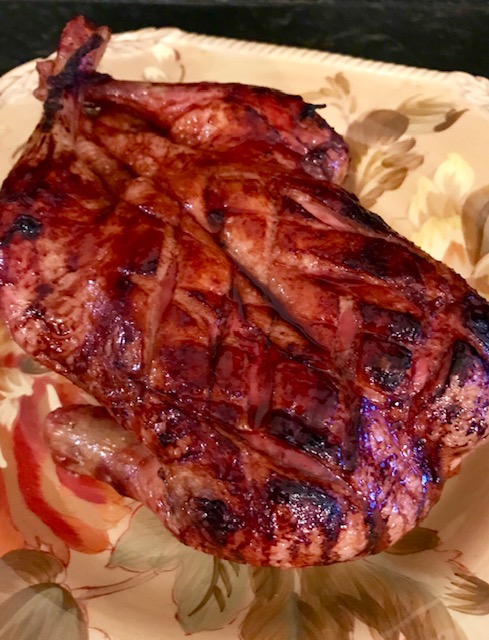
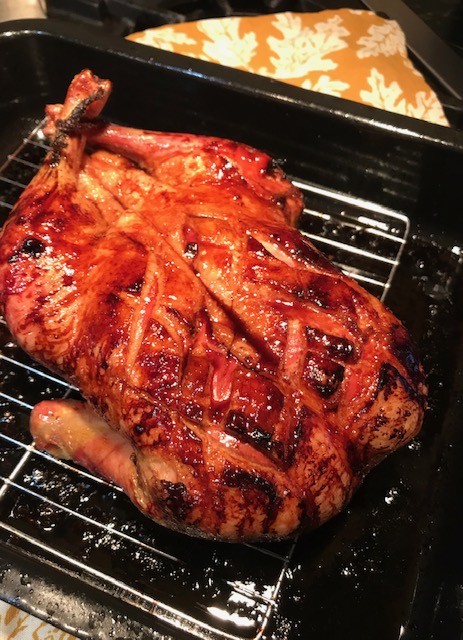
For whatever reason, roasting duck seems so intimidating. I’m not sure why. They are roasted just as you would chicken, they just take a bit longer to cook through. Whatever your thoughts are concerning duck, this recipe will have you changing your mind!
1 medium size fresh or frozen duck (thawed completely)
1 lemon, sliced
3-4 heads of garlic
1 small bunch each of rosemary and thyme
salt and pepper
For the Basting Glaze
1/3 cup balsamic vinegar
1/4 cup apple cider
1/3 cup honey
Mix all 3 ingredients together and set aside.
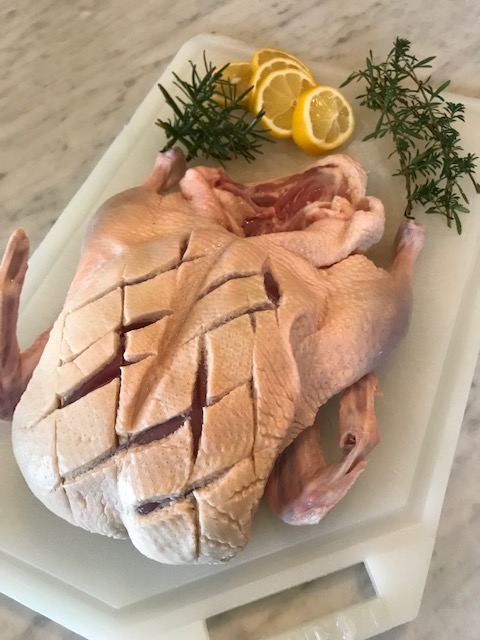
Prepare the duck
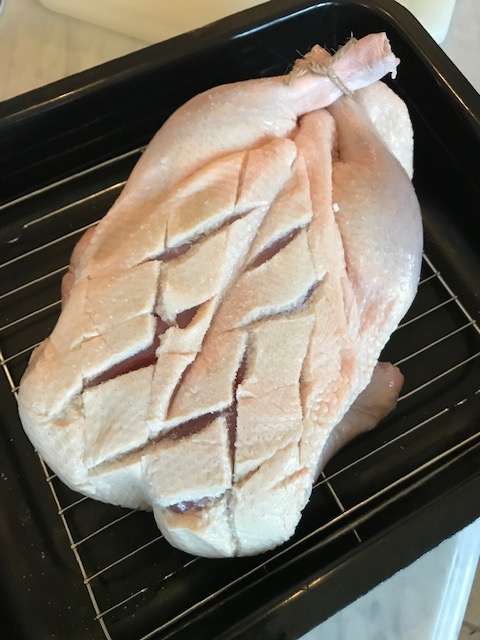
Preheat the oven to 350F. Rinse the duck inside and out and pat dry. Season the inside with salt and pepper. Place the lemon, garlic and herbs inside the cavity and fold the extra skin inside. Tie the drumsticks together with kitchen twine. Score the breast side lightly on the diagonal (see pic) being careful to not penetrate the meat deeply. Fold the extra skin under the duck and fold the wings under. Place on a rack in a roasting pan so as to allow the excess fat to drip. Rub salt and pepper over the scored meat and place into the oven. Roast for 1 hour.
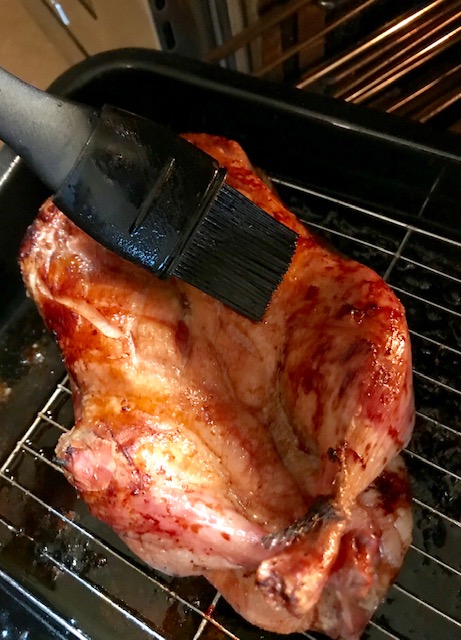
After an hour, carefully turn the duck over so as to roast the underside. Roast for 45 minutes. Open the oven and brush the glaze over the duck and return to the oven. Repeat this step a few more times until the underside has developed a nice golden color, about 15 minutes.
Gently turn the duck back to breast side up. Generously baste with the balsamic glaze. Return to roast for another hour. During the last half hour, repeat the glazing several times until the meat has taken on a beautiful deep golden color. At this point the duck should have roasted for about 3 hours. Remove from roasting pan and transfer to a cutting board or serving platter. Remove the lemon, garlic and herbs before serving.
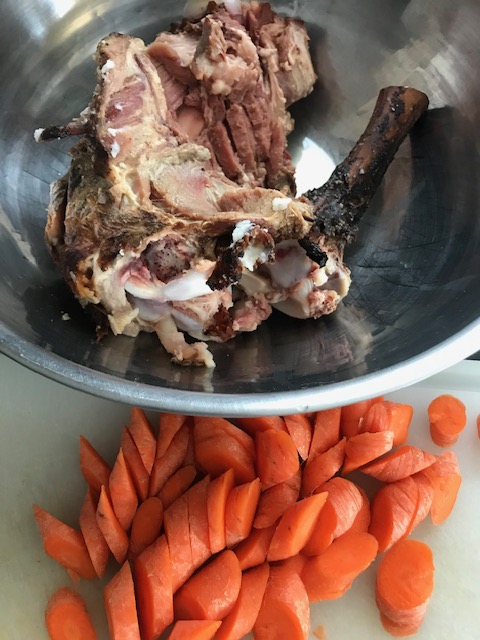
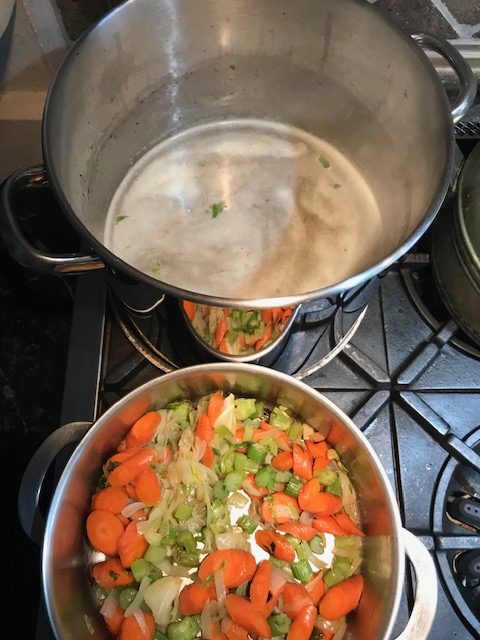
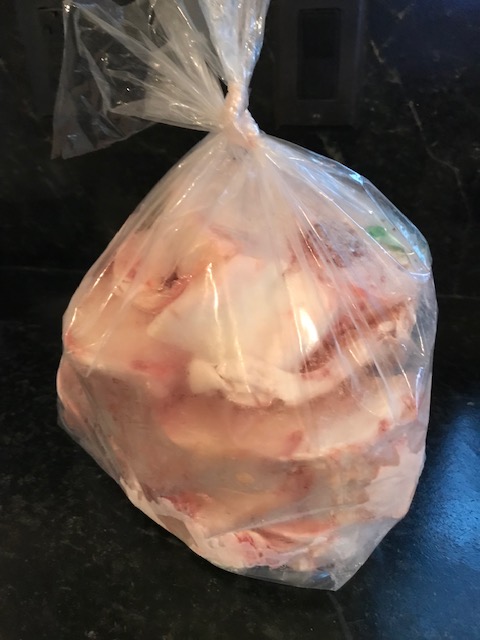
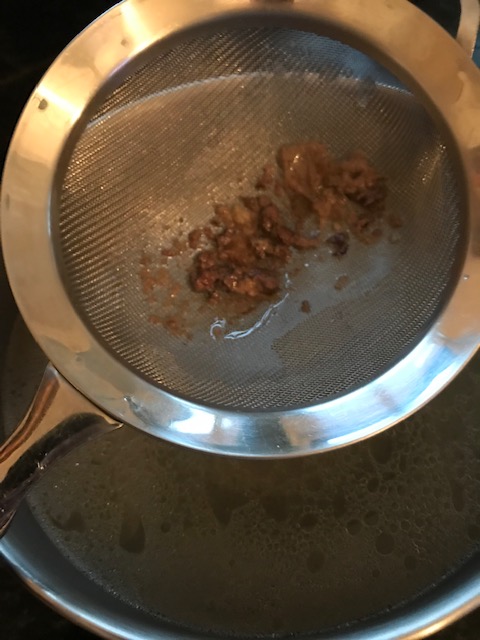
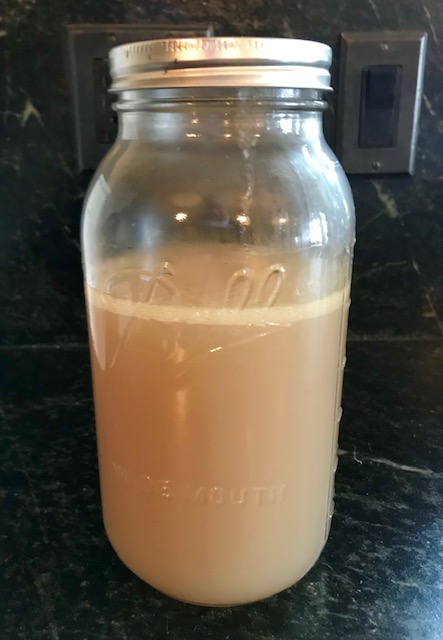
Making bone broth is one of the simplest ways to add healthier food choices into your family’s and your diet. What is bone broth you might ask? Think of chicken or beef broth. It’s the same think, except it’s made from beef bones. I am fortunate that my friend is a farmer and has provided me with the broth bones. You can also get them from your local butcher or market. Broth bones are similar to the shank bones you would traditionally use for Osso Bucco, but have almost no meat left on them.
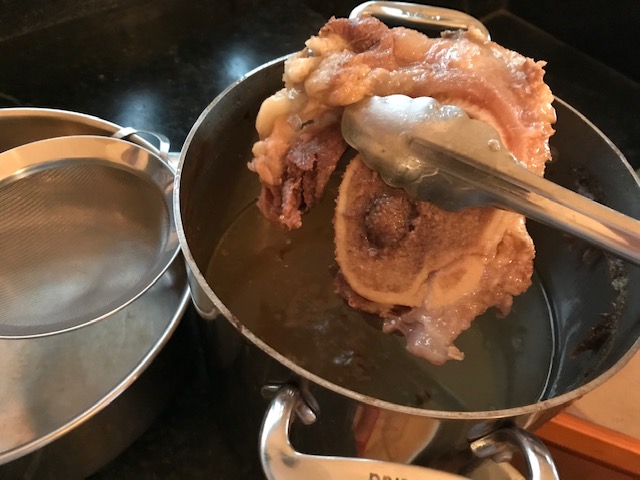
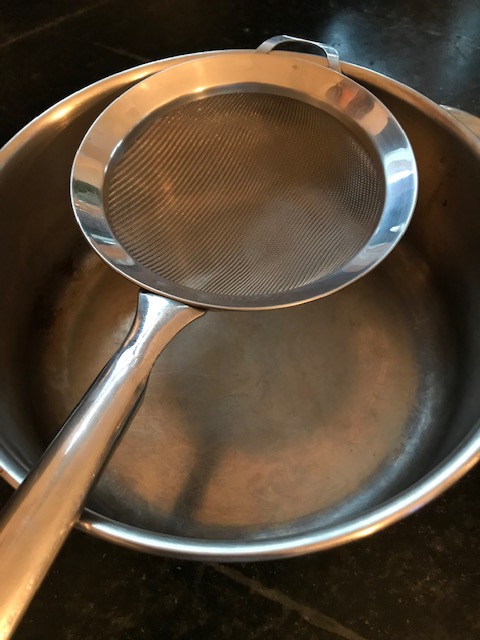
To make the broth is simple. Add the bones to a large pot and cover with water. Bring to a low boil. Reduce the heat and allow to simmer for at least 50 minutes or so to extract the most nutrients from the bones. Allow to cool then remove the bones and discard. Then strain the broth to remove any excess debris from cooking. There you have it, fresh broth to use either right away or freeze to use for soups, gravies, stews, etc. at a future date.
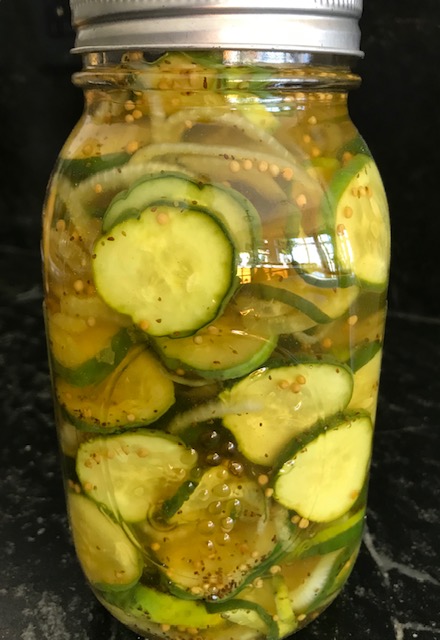
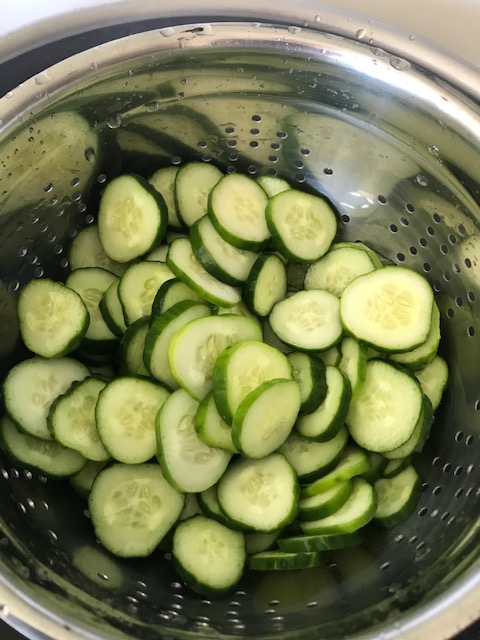
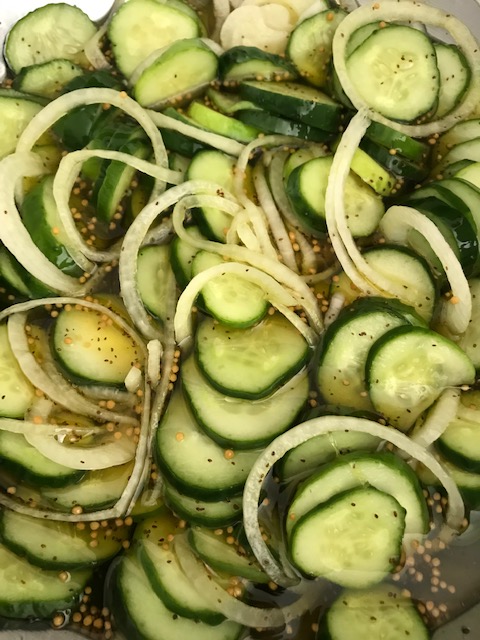
Our cucumber harvest was on overdrive this year. I hadn’t made pickles in a very long time and was looking for something quick, easy and naturally delicious. This recipe checked all those boxes. Absolutely no canning equipment needed!
Combine sliced cucumbers and salt in a large shallow bowl. Cover and chill 1 1/2 hours. Move cucumbers into a colander and rinse thoroughly under cold water. Drain well and return to bowl. Add onions to the bowl and toss will the cucumber.
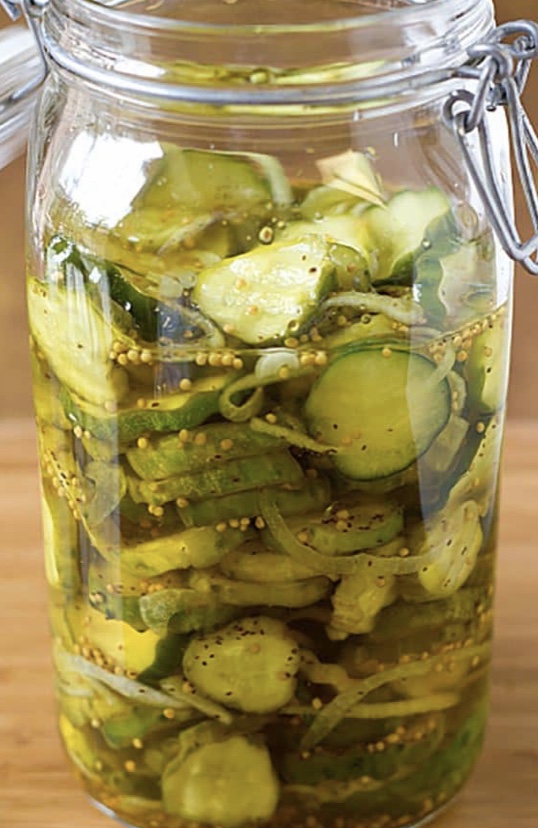
Combine the sugars, vinegars and seasonings in a medium saucepan. Bring to a simmer over medium heat stirring until the sugar dissolves. Pour the hot vinegar mixture over the cucumber mixture. Let stand at room temperature for one hour. Transfer to jars and refrigerate at least 24 hours to allow flavors to develop. Stores up to one month in airtight containers.
* Use cucumbers that are approx 5″ long and narrow.
Note: A small whole hot pepper can be added if you prefer a little heat.
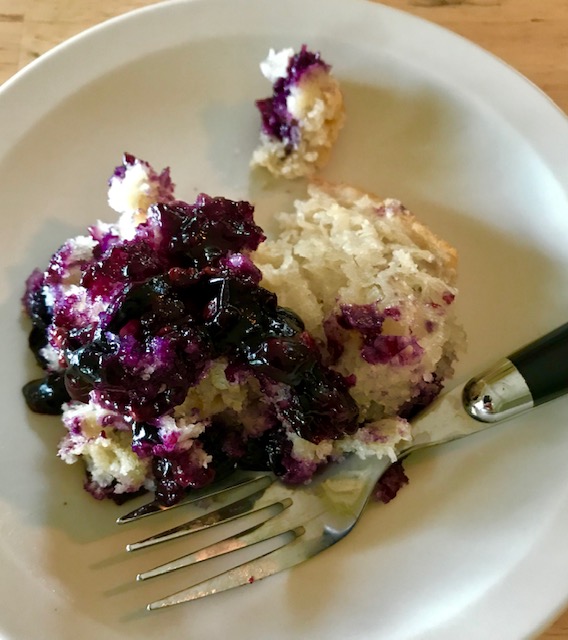
Concord Grape Cobbler adapted from Arthur Street Kitchen
Serves 4-6
1 stick (113g) butter
1 cup plain (all-purpose) flour
1 ½ tsp baking powder
pinch salt
1 cup low fat milk (or almond milk)
1 cup sugar, plus 1 tbsp extra
Juice of ½ lime
1 tsp vanilla extra
2 cups seedless concord grapes (or other fruit) – if they have seeds, cut in half and remove them!
Vanilla ice cream, to serve
Preheat the oven to 350˚F.
Place the butter in one 10 inch cast-iron skillet or, as I used, two 6.5 inch skillets (just halve the butter and put some in each). Place in the preheated oven and allow the butter to melt.
Prepare the grapes by coating them with 1 tablespoon of sugar. Set aside.
Meanwhile, in a medium bowl, add the flour, baking powder, and a pinch of salt. Using a hand whisk, stir in the milk, sugar, vanilla, and lime juice, until well combined.
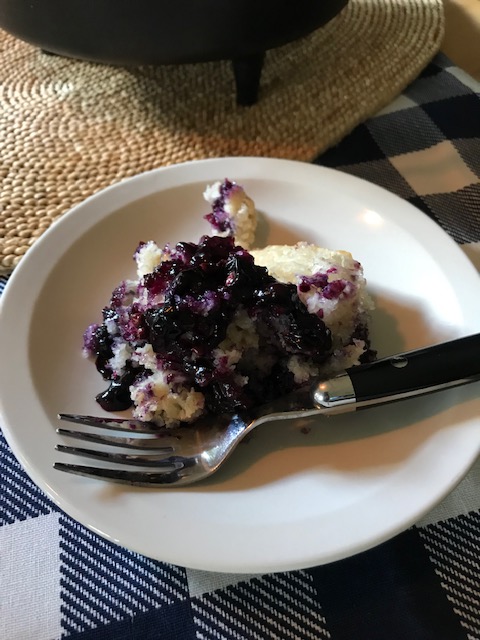
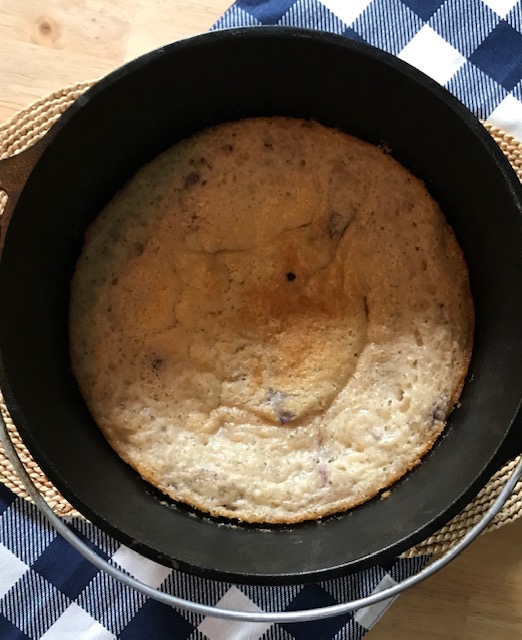
Once the butter has melted in the skillet, carefully remove from the oven and pour the batter into the pan with the butter. Working quickly, top the batter with the sugared grapes. Place back into the oven and bake for around 25-30 minutes until the batter is golden and has risen around the fruit. Place a large baking tray under the skillet to catch any batter or butter overflow.
Allow the cobbler to cool, preferably for around 20-30 minutes. I always allow my cobblers to cool a little before eating as this allows the fruit juices to thicken underneath the batter.
This delicious and relatively easy recipe is from The Diplomatic Kitchen
This recipe is easily increased, you’re only limited by the number of ramekins you own.
Ingredients:
5 ounces of button mushrooms, coarsely chopped, and a couple of extra ounces, sliced, for arranging on the tops of the souffles
4 Tablespoons of butter, and some for greasing the baking sheet and browning the extra sliced mushrooms
4 Tablespoons of flour
1 and 2/3 cups of milk
3 ounces of grated Gruyere, Emmentaler or a combination of them, and some extra to sprinkle on the tops of the souffles
3 large eggs, separated
8 teaspoons of creme fraiche or heavy cream
Equipment:
a frying pan
a large baking sheet
Parchment paper (also known as baking paper)
8 half-cup size ramekins
The First Baking: it may be done up to two days ahead:
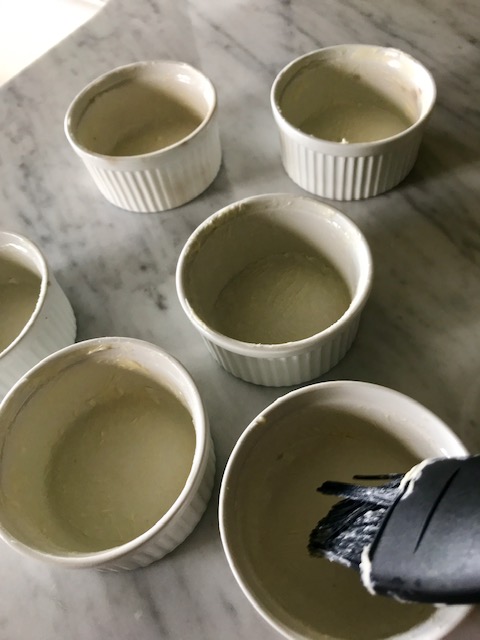
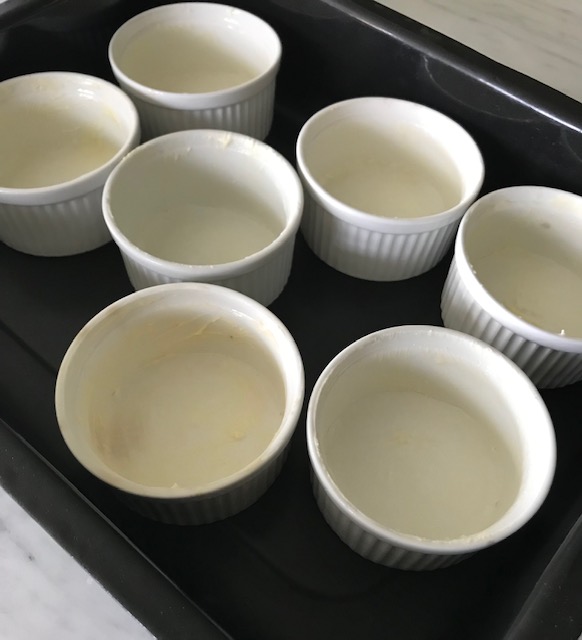
1. Preheat the oven to 350 F. Cut 8 circles from the parchment paper to fit the bottoms of the ramekins. Butter the ramekins well and line them with the circles of paper:
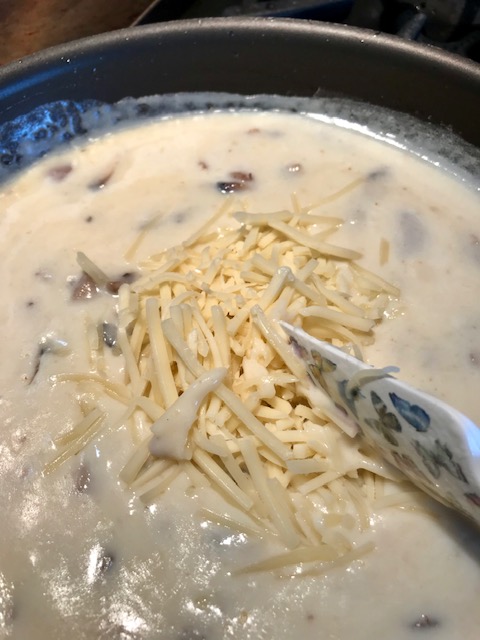
2. Heat a little butter in the frying pan and fry the sliced mushrooms that will go on top of the souffles until they are golden. Cool, cover and refrigerate them to use for the second baking of the souffles. In the same pan, heat the 4 Tablespoons of butter and cook the chopped mushrooms for several minutes until they brown a little. Add the flour and cook it for a minute, stirring. Add the milk and continue to stir until a sauce forms and thickens. Add the 3 ounces of grated cheese, reserving some extra for the second baking. Add some grinds of salt, pepper and nutmeg and cool the mixture:
3. Beat the egg whites until they are stiff and don’t slide up the side of a tilted bowl:
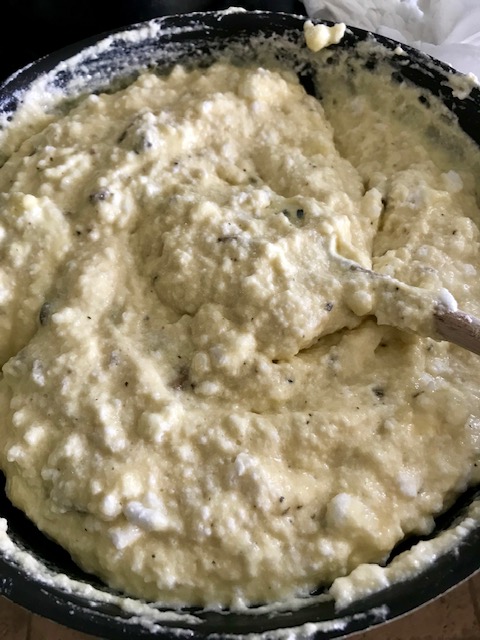
4. Beat the egg yolks a little, stir them into the mushroom mixture, and fold in the egg whites:
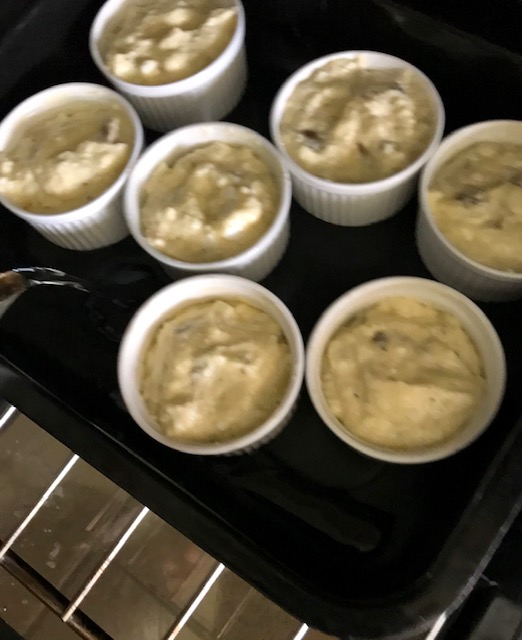
5. Divide the mushroom mixture among the 8 ramekins and place them in a roasting pan. Fill the pan with cold water to reach half way up the sides of the ramekins:
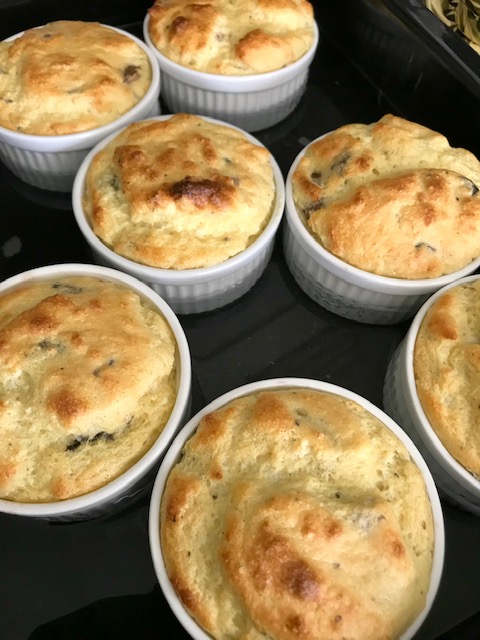
6. Bake the souffles for about 15 – 20 minutes, or until they are puffed and browned. Remove them from the roasting pan and let them cool:
7. The souffles will sink. When they are cooled, cover and refrigerate them until you are ready to bake them a second time and serve them. (The souffles may be made up to this point a couple of days ahead.):
The Second Baking: arrange them on the baking sheet a little ahead of time and bake right before serving:
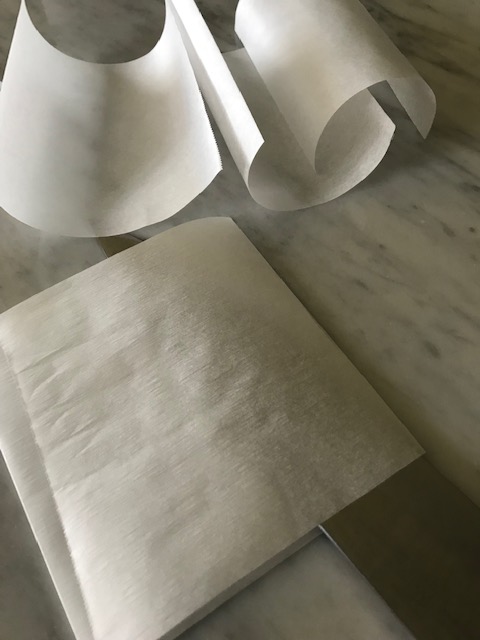
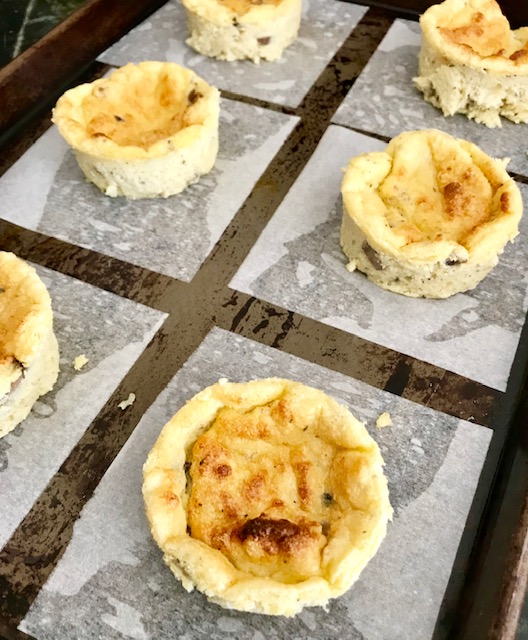
1. Preheat the oven to 375 F. Cut out 8 4-inch squares of parchment paper. Streak the baking sheet with butter to hold down the paper squares and place the squares on the sheet:
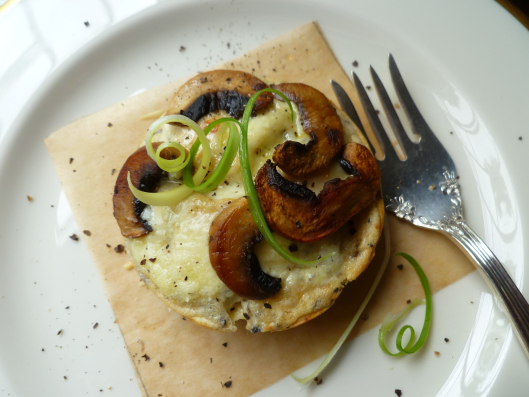
2. Unmold the souffles, peel off the paper rounds, and place the souffles right-side up on the paper squares. Over each souffle pour a teaspoon of heavy cream or creme fraiche, sprinkle on some grated cheese and arrange mushroom slices on top:
3. Bake the souffles for about 15 minutes, or until they rise slightly and the cheese bubbles. Serve them on the parchment squares. They look nice garnished with Green Onion Curls and fresh black pepper ground over each plate:
parchment squares for baking on
ramekins in baking dish
folding the cheese into the mushroom roux
folded in egg whites
souffles cooked and ready to cool
souffles prepared and ready for second baking. Serve on the parchment.
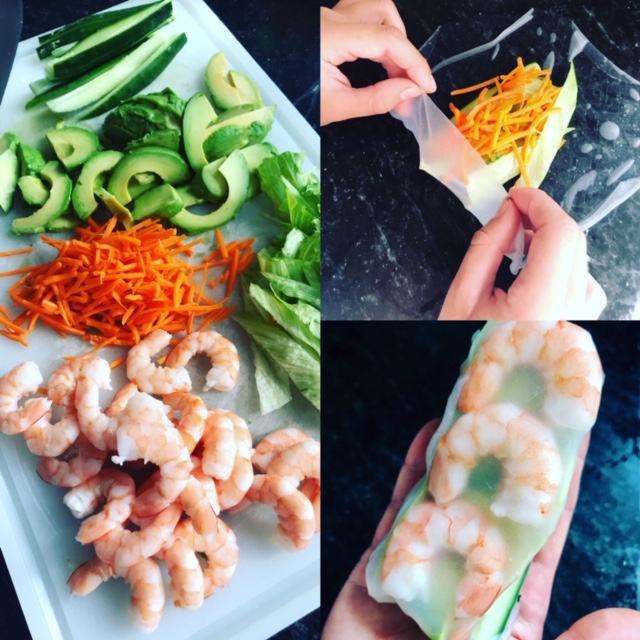
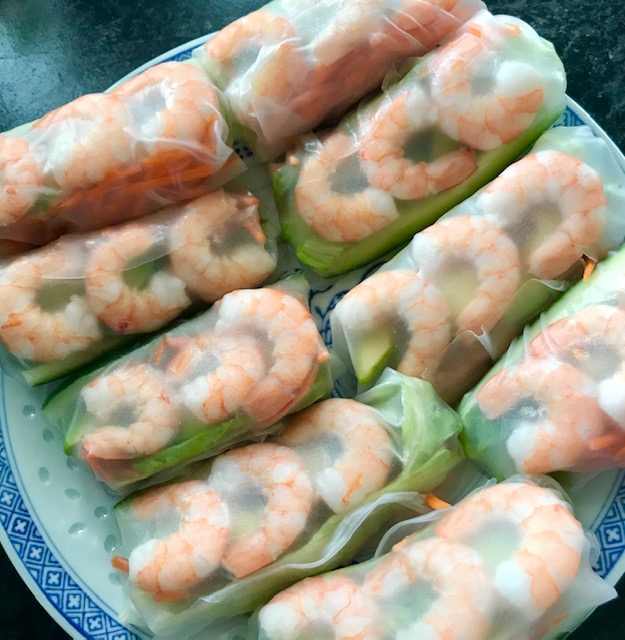
I didn’t realize how easy it is to make spring rolls until one of my daughters gave me a simple tutorial. The picture above is a suggestion of the fillings, but the combinations can be endless. The key is to use very fresh produce and cooked and chilled seafood or meat. Make sure your vegetables are chopped finely or thinly enough so they are easy to bite into. The spring roll wrappers are soaked in water individually, then laid out flat. Place the fillings in the center of the wrapper fold the ends over first, then the sides to form a rolled shape. If not serving right away, cover with plastic wrap so as to keep the wrappers fresh. Serve with your choice of any asian dipping sauce.
I’ve offered some product recommendations below. Just click to shop!
Hello, my name is Bernadette. I believe in living each day fully and enjoying what each season has to offer to all facets of life. I am a wife and mother to four beautiful children. I’d like to share with you my ideas and tips for creating your best life, for you and those you love. Welcome.
Please note that all products and business links that I promote here on my site are sponsored by my affiliate links and I generate a small commission from them. Furthermore, I will only promote products and brands that I truly believe in!