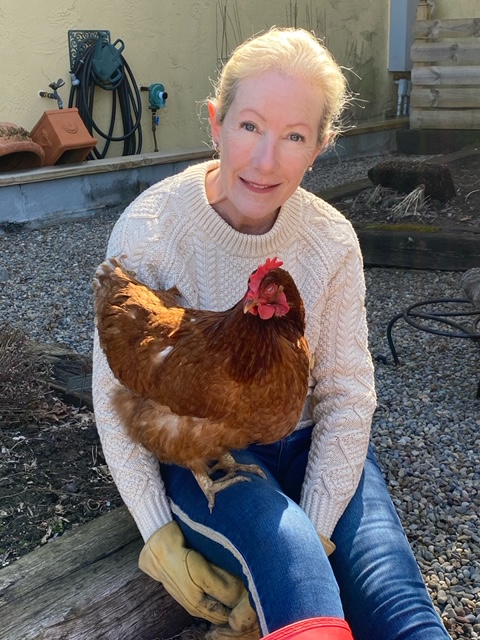
Gardening for me is therapeutic, zen for body and soul. Something about getting dirty and working the earth. Planting, growth and reaping the rewards or lack thereof, I’ve had those too! I’d like to share with you my garden adventures here. Building stone walls, putting in new flower gardens and tending to my kitchen potager. I’ll share my tips on gardening and welcome your feedback as well.
Drying Herbs

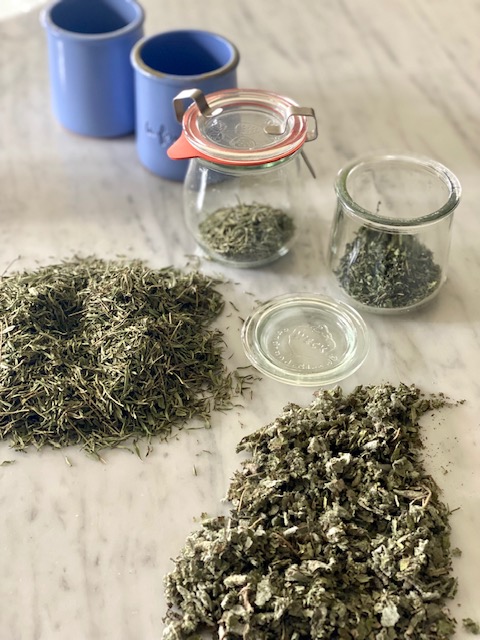
I was recently inspired by one of my Instagram followers to dry my fresh herbs. I always had an abundant harvest but was sad to see it all die and fade away during the winter months. Truth is, I had never thought about drying them! So this is what I did. I clipped several large quantities of my different herbs that I wanted throughout the winter. One of my favorites is Winter Savory, a not too common herb that you would not find in the spice aisles. It is a cross between Rosemary and Thyme I would say. Anyway, I placed each different type in paper bags and closed them up tightly. I put them in a dry, dark area (a closet would work just fine) and waited a few weeks. When they were completely dry I just crunched them up between my hands. Most of the hard stems simply separated, and I discarded them. The sage I separated from the stems before I crunched them up. Then I put into small containers to enjoy in the winter months! I’ve had such success, I’m considering finding small glass jars such as a Weck brand and making my own herb blends to give as gifts. So easy, I’d say give it a try!
Planting bulbs for in-house spring blooms
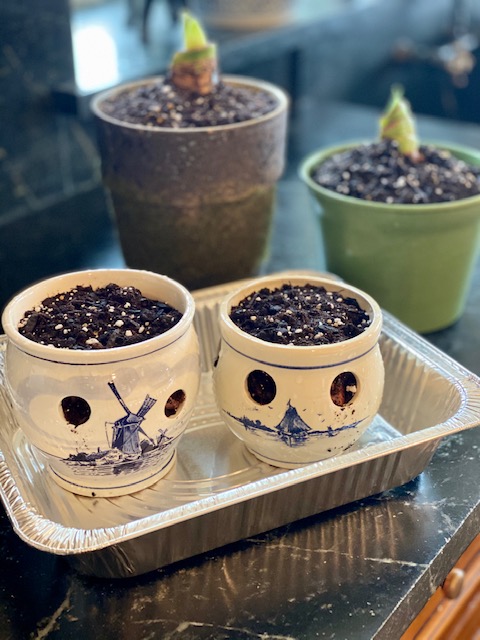
This is a first for me. I’ve never planted bulbs other than the traditional paperwhites at Christmastime. This year I found these very cute delft bulb pots at a GoodWill and I was inspired to try my hand. I’ve planted crocuses in both. They will require 12-15 weeks of a dark cool spot, so I have put mine in my garage basement stairwell. They should be watered just enough to keep the soil moist, but not saturated. So this should bring me just to mid-February. If all goes well, I’ll bring them up, place in a sunny window and hopefully have some pretty spring flowers! I also planted a few Amyrillis bulbs which I’m starting already for the holidays. We shall see what turns up!!
Tomato Harvest
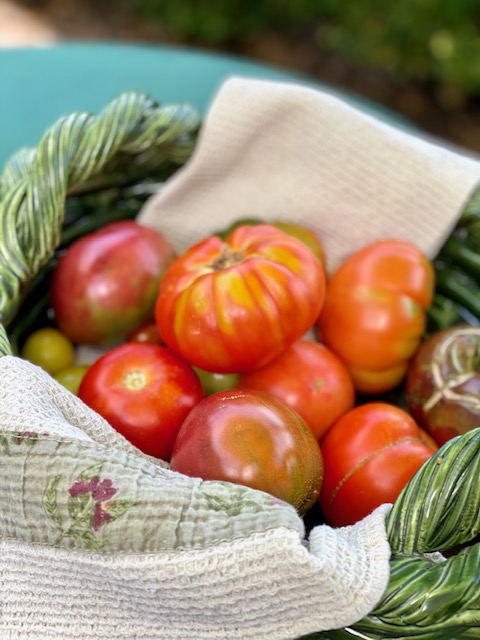
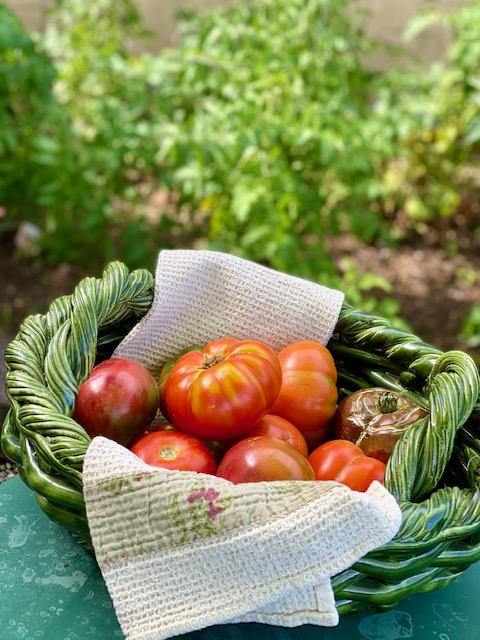
My tomato harvest is underway. I planted a few heirloom varieties that I had good luck with this year, and of course, lots of cherry varieties that are sweet as candy. Need some recipe inspiration, head over to From the Kitchen for some of my favorites!
My New Cutting Garden
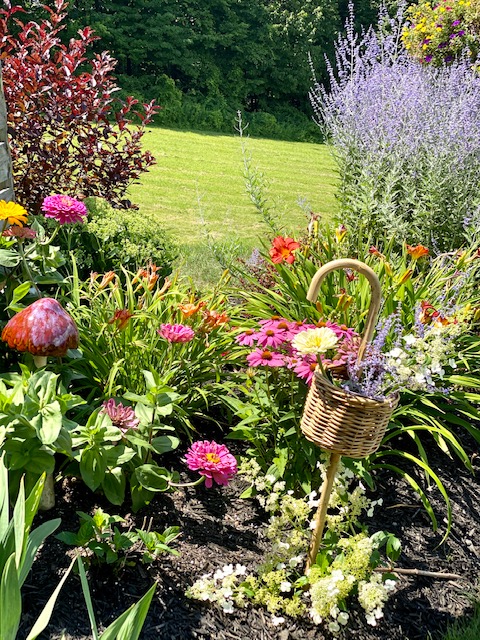

Two years ago I decided I wanted a cutting garden. I just loved the idea of walking out and gathering up some pretty blooms for in the house. I chose a variety of perennials that bloom at different times during the season and also add annuals for that extra pop of color all through the summer. My perennial varieties are:
A few varieties of day lilies, Irises, russian sage, sedum, hollyhocks and bee balm.
My annuals are always a few varieties of zinnias, especially the very tall ones with huge flowers. They can always be counted on for super summer color all season long.
Each year I tweak a little here and there experimenting with other flowering plants, that is the fun of this colorful garden. My only problem is that I have a hard time actually cutting them to bring inside!
Planting Scallions
Did you know that you can plant the little sections of root that are cut from scallions? Simple place the small sections in dirt leaving the cut top level or just above the soil. Water until established and new scallions will grow!
My Favorite – Peonies!
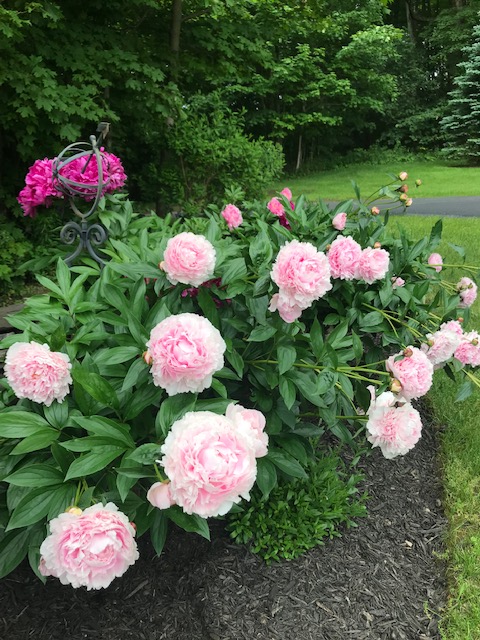
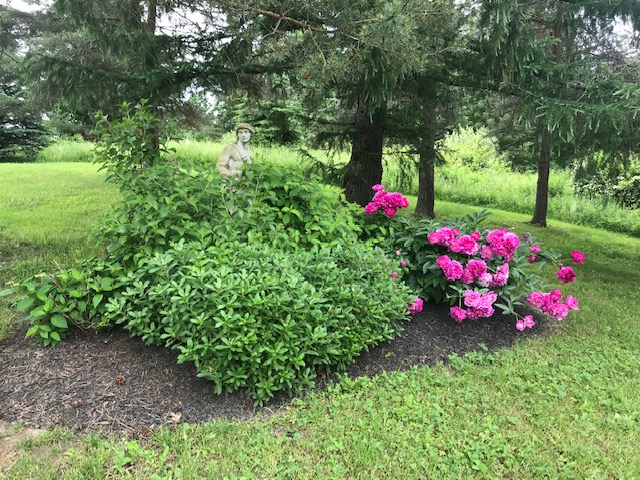
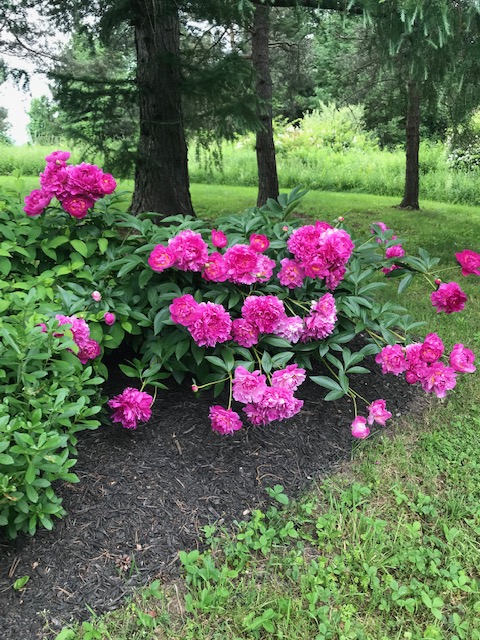
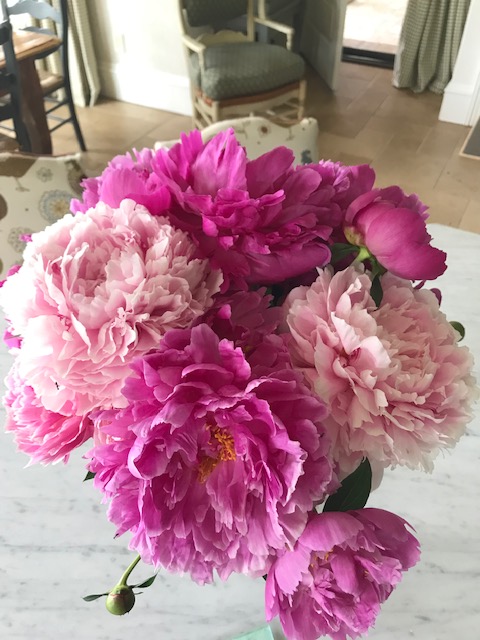
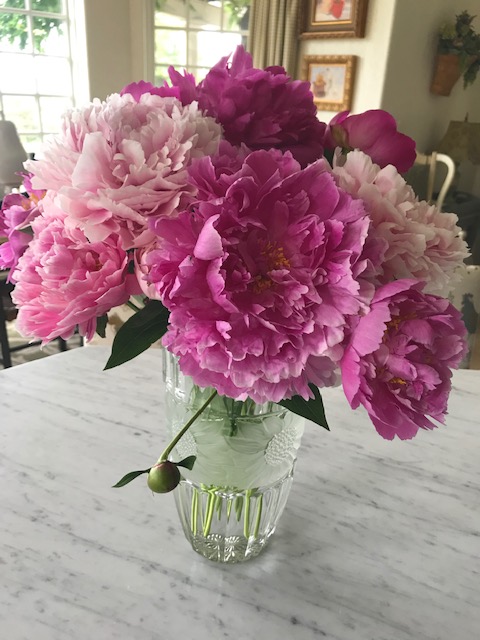
I can’t get enough of these gorgeous “queeens of the garden”! This year they’ve come back even bigger and bolder. Here are some pics of the gardens. I love arranging them into huge bouquets to have here and there in the house. A small bouquet on my nightstand or in the bathroom feels especially pampered! Be sure to give them a gentle upside-down shake before coming into the house since they attract ants with their sweet scent.
Starting Seeds!

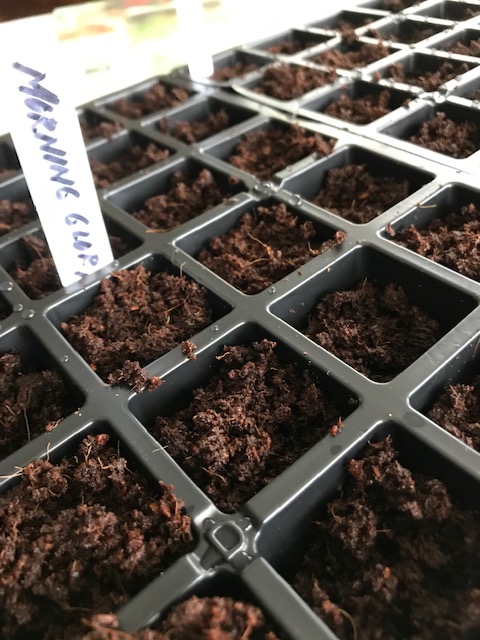
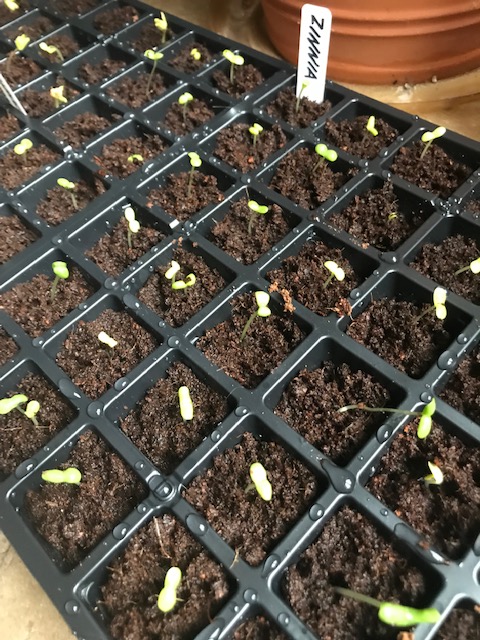
Since I am stuck indoors this spring (due to my ski injury), I decided to start seeds indoors. I had to get my hands into the dirt somehow! Also, I’ve started these seeds directly into the ground before, but without too much luck, plus the growing season can be so short, it’s much more satisfying putting a decent sized plant into the ground to enjoy it’s blooms earlier in the season. Here are my results so far!
A beautiful container garden fall display
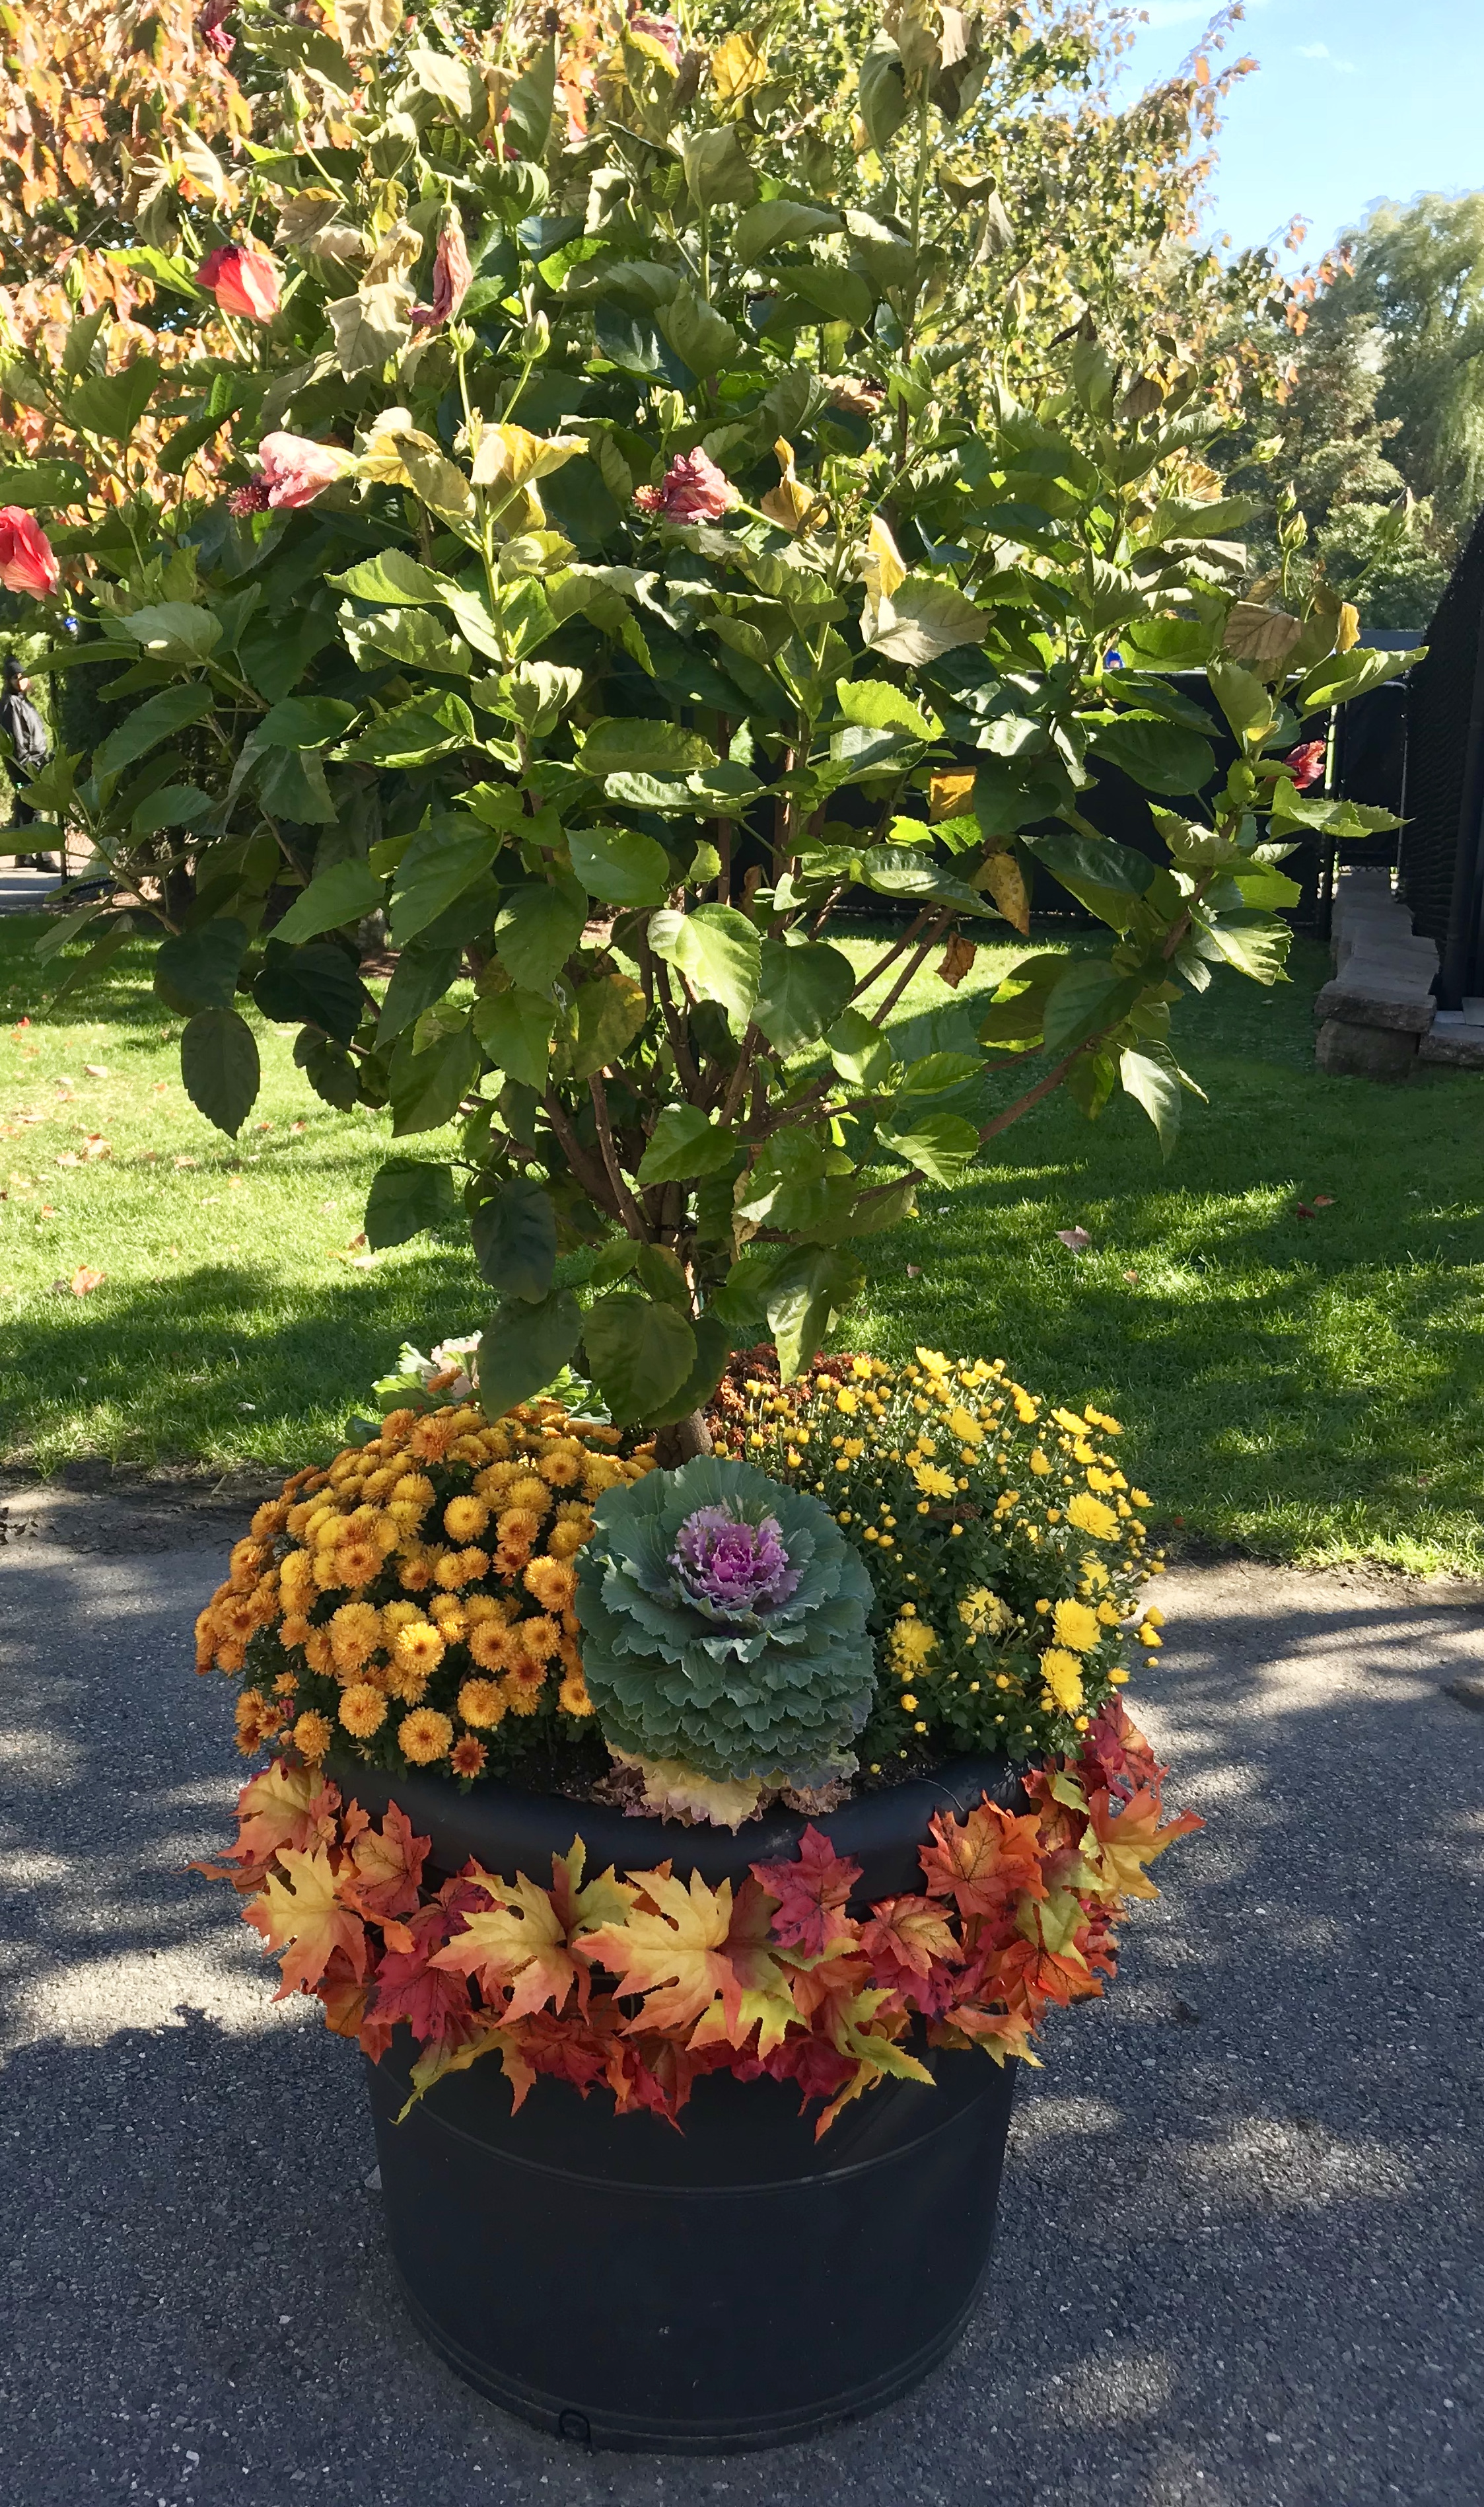
I was so inspired by these beautiful container gardens. The hibiscus tree was no doubt the summer display, but as autumn came along, there were mums and flowering kale added. Sometimes our summer blooms are just too pretty to throw out and this is a great way to take them into the next season. I live in the northeast, so the hibiscus would not last outdoors. I would experiment with over-wintering indoors to see if I could coax another summer out of it! For more moderate climates, this is a great example of how to move from one season into another.
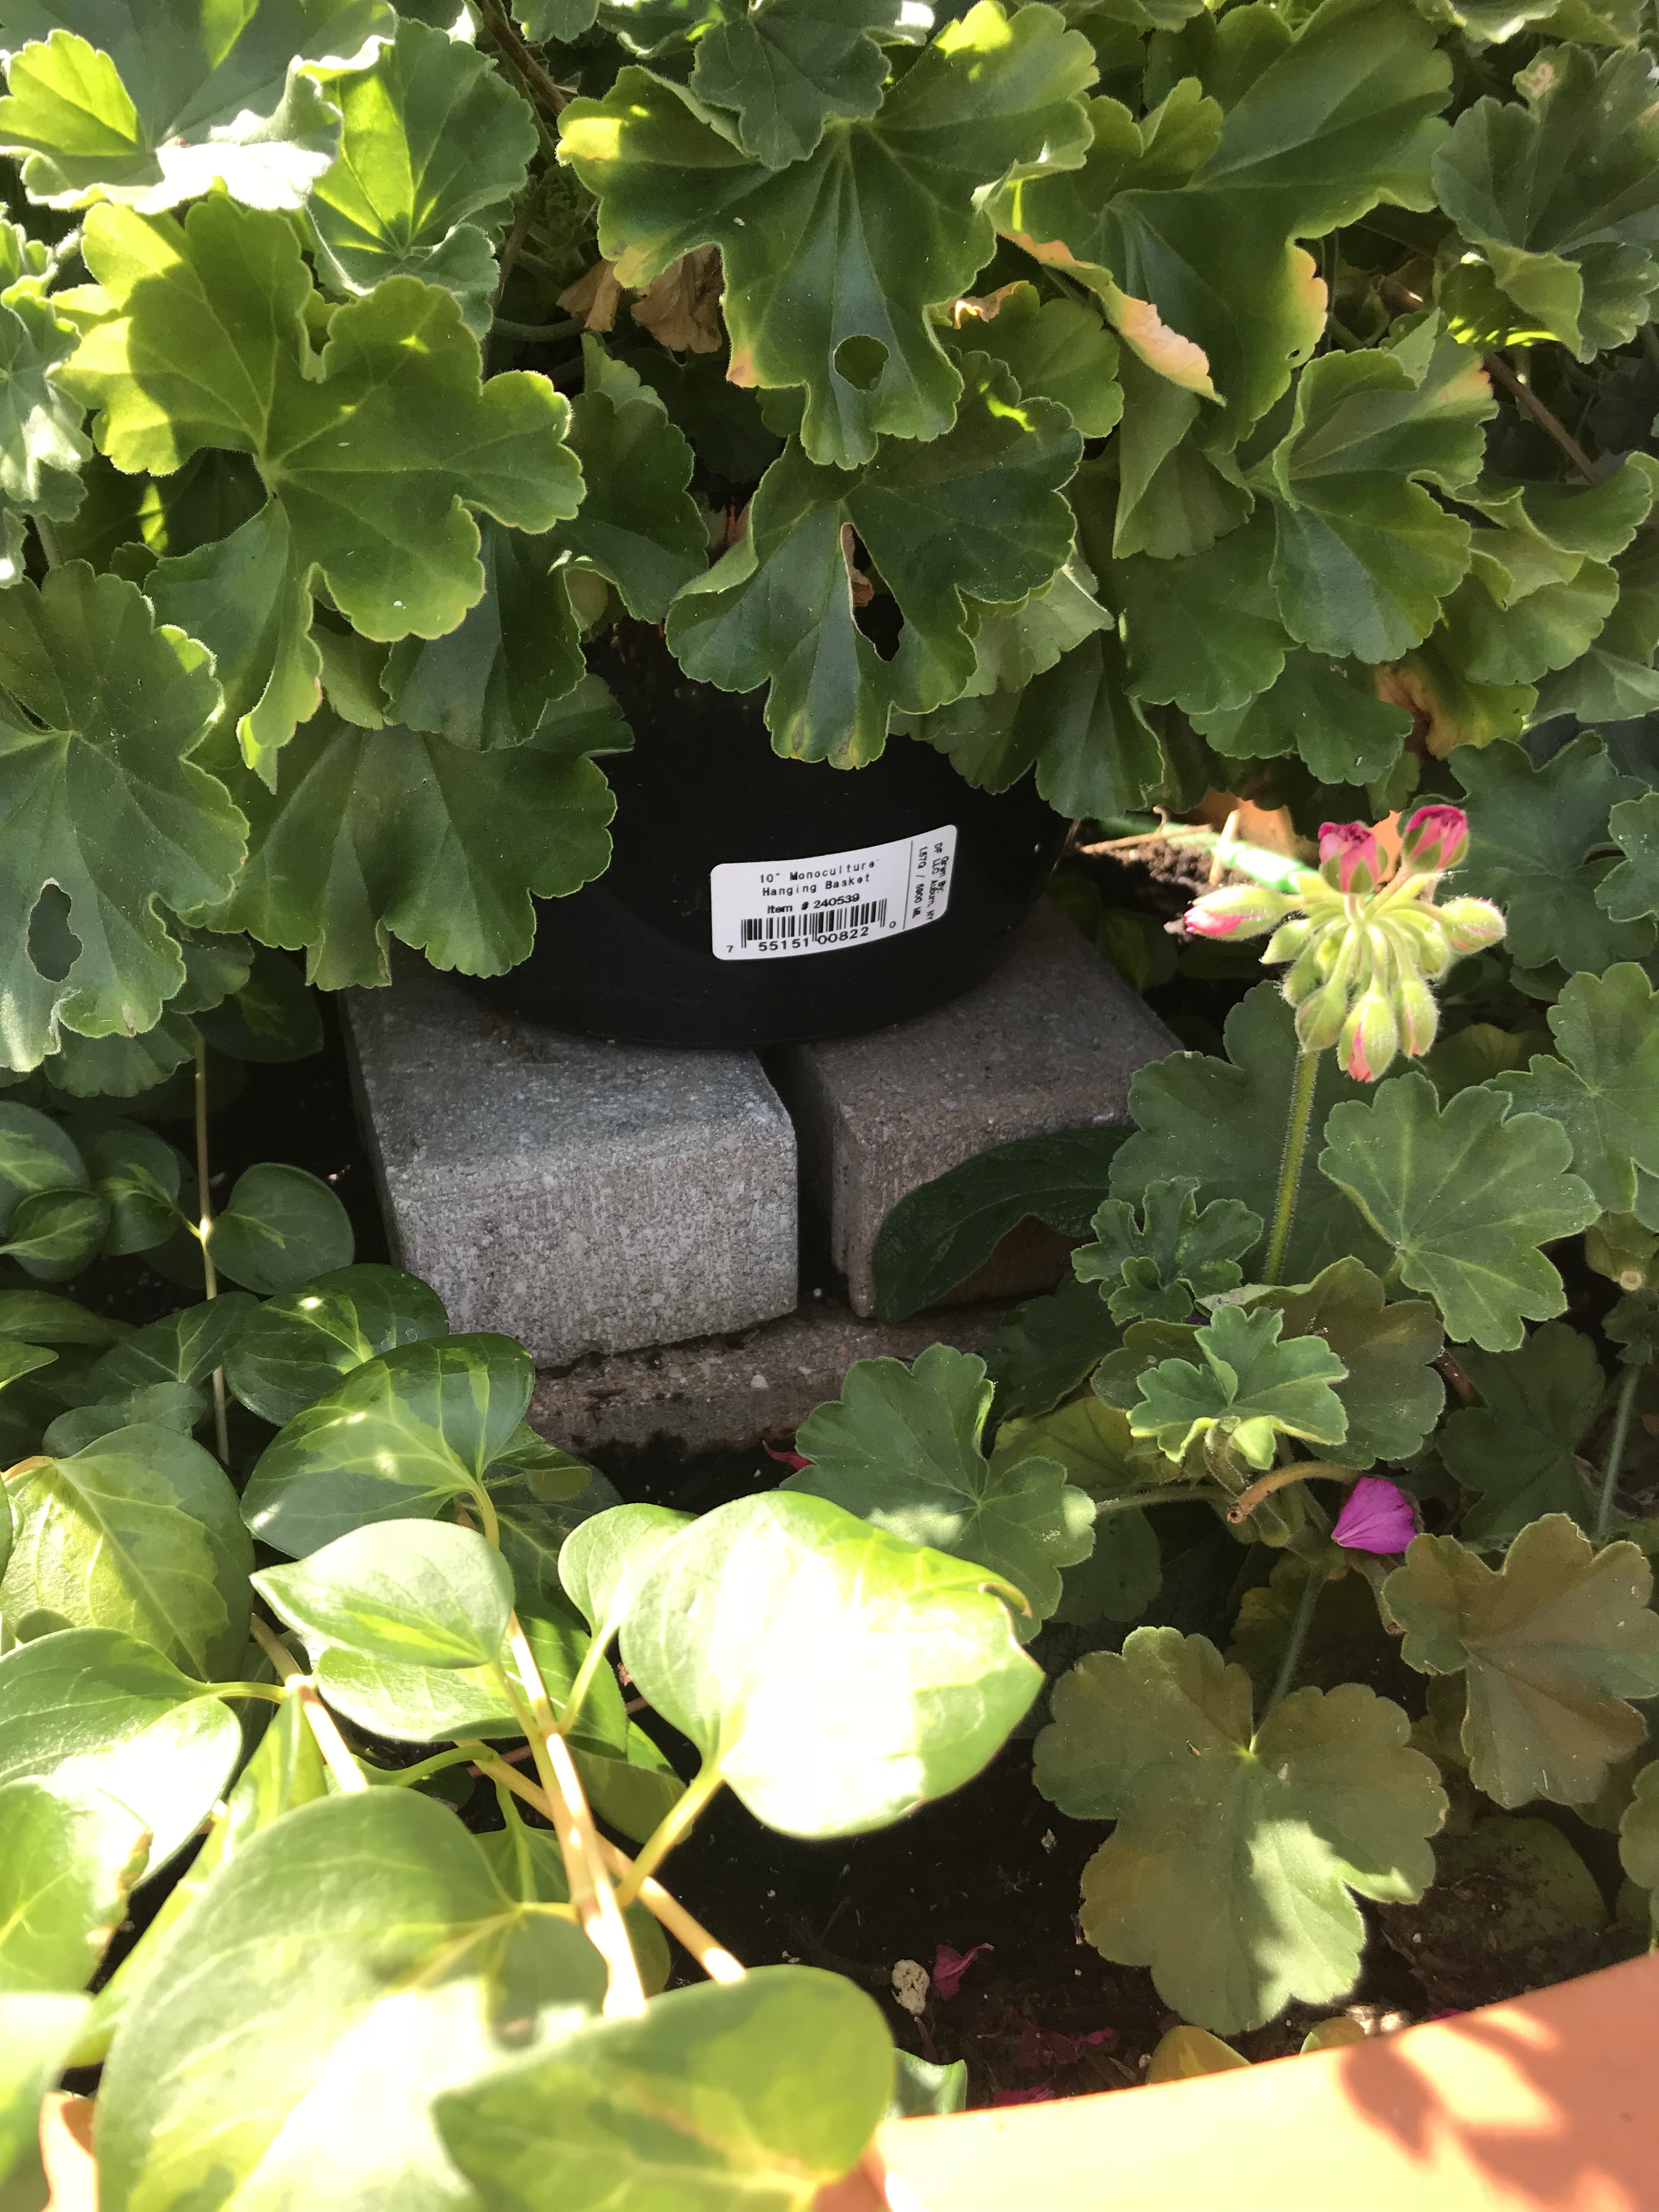
Container Garden with Height!

I have a very large clay pot on my patio. It is challenging to fill so that it looks lush and full, primarily because it would take so much soil to do so. Also, since I am in a climate with freezing winters, I would have to empty it at the end of each season so the pot would not crack. I came up with this solution. I have a “saucer sled” – yes, the kind that kids like to go sledding on – that fits perfectly a few inches down into the pot. I fill this with dirt and plants. Regardless, I feel that height always adds more visual interest, so I stacked bricks in the center and placed an already potted plant atop the bricks. To secure it in place, I used a decorative garden stake that is pushed through the bottom of the potted plant. Be sure to leave just enough space between the bricks to hold the stake securely in place. Now at the end of the season, clean up is a cinch and the summertime results show a pot that looks overflowing and colorful.
Click on the post title to see my Amazon picks!
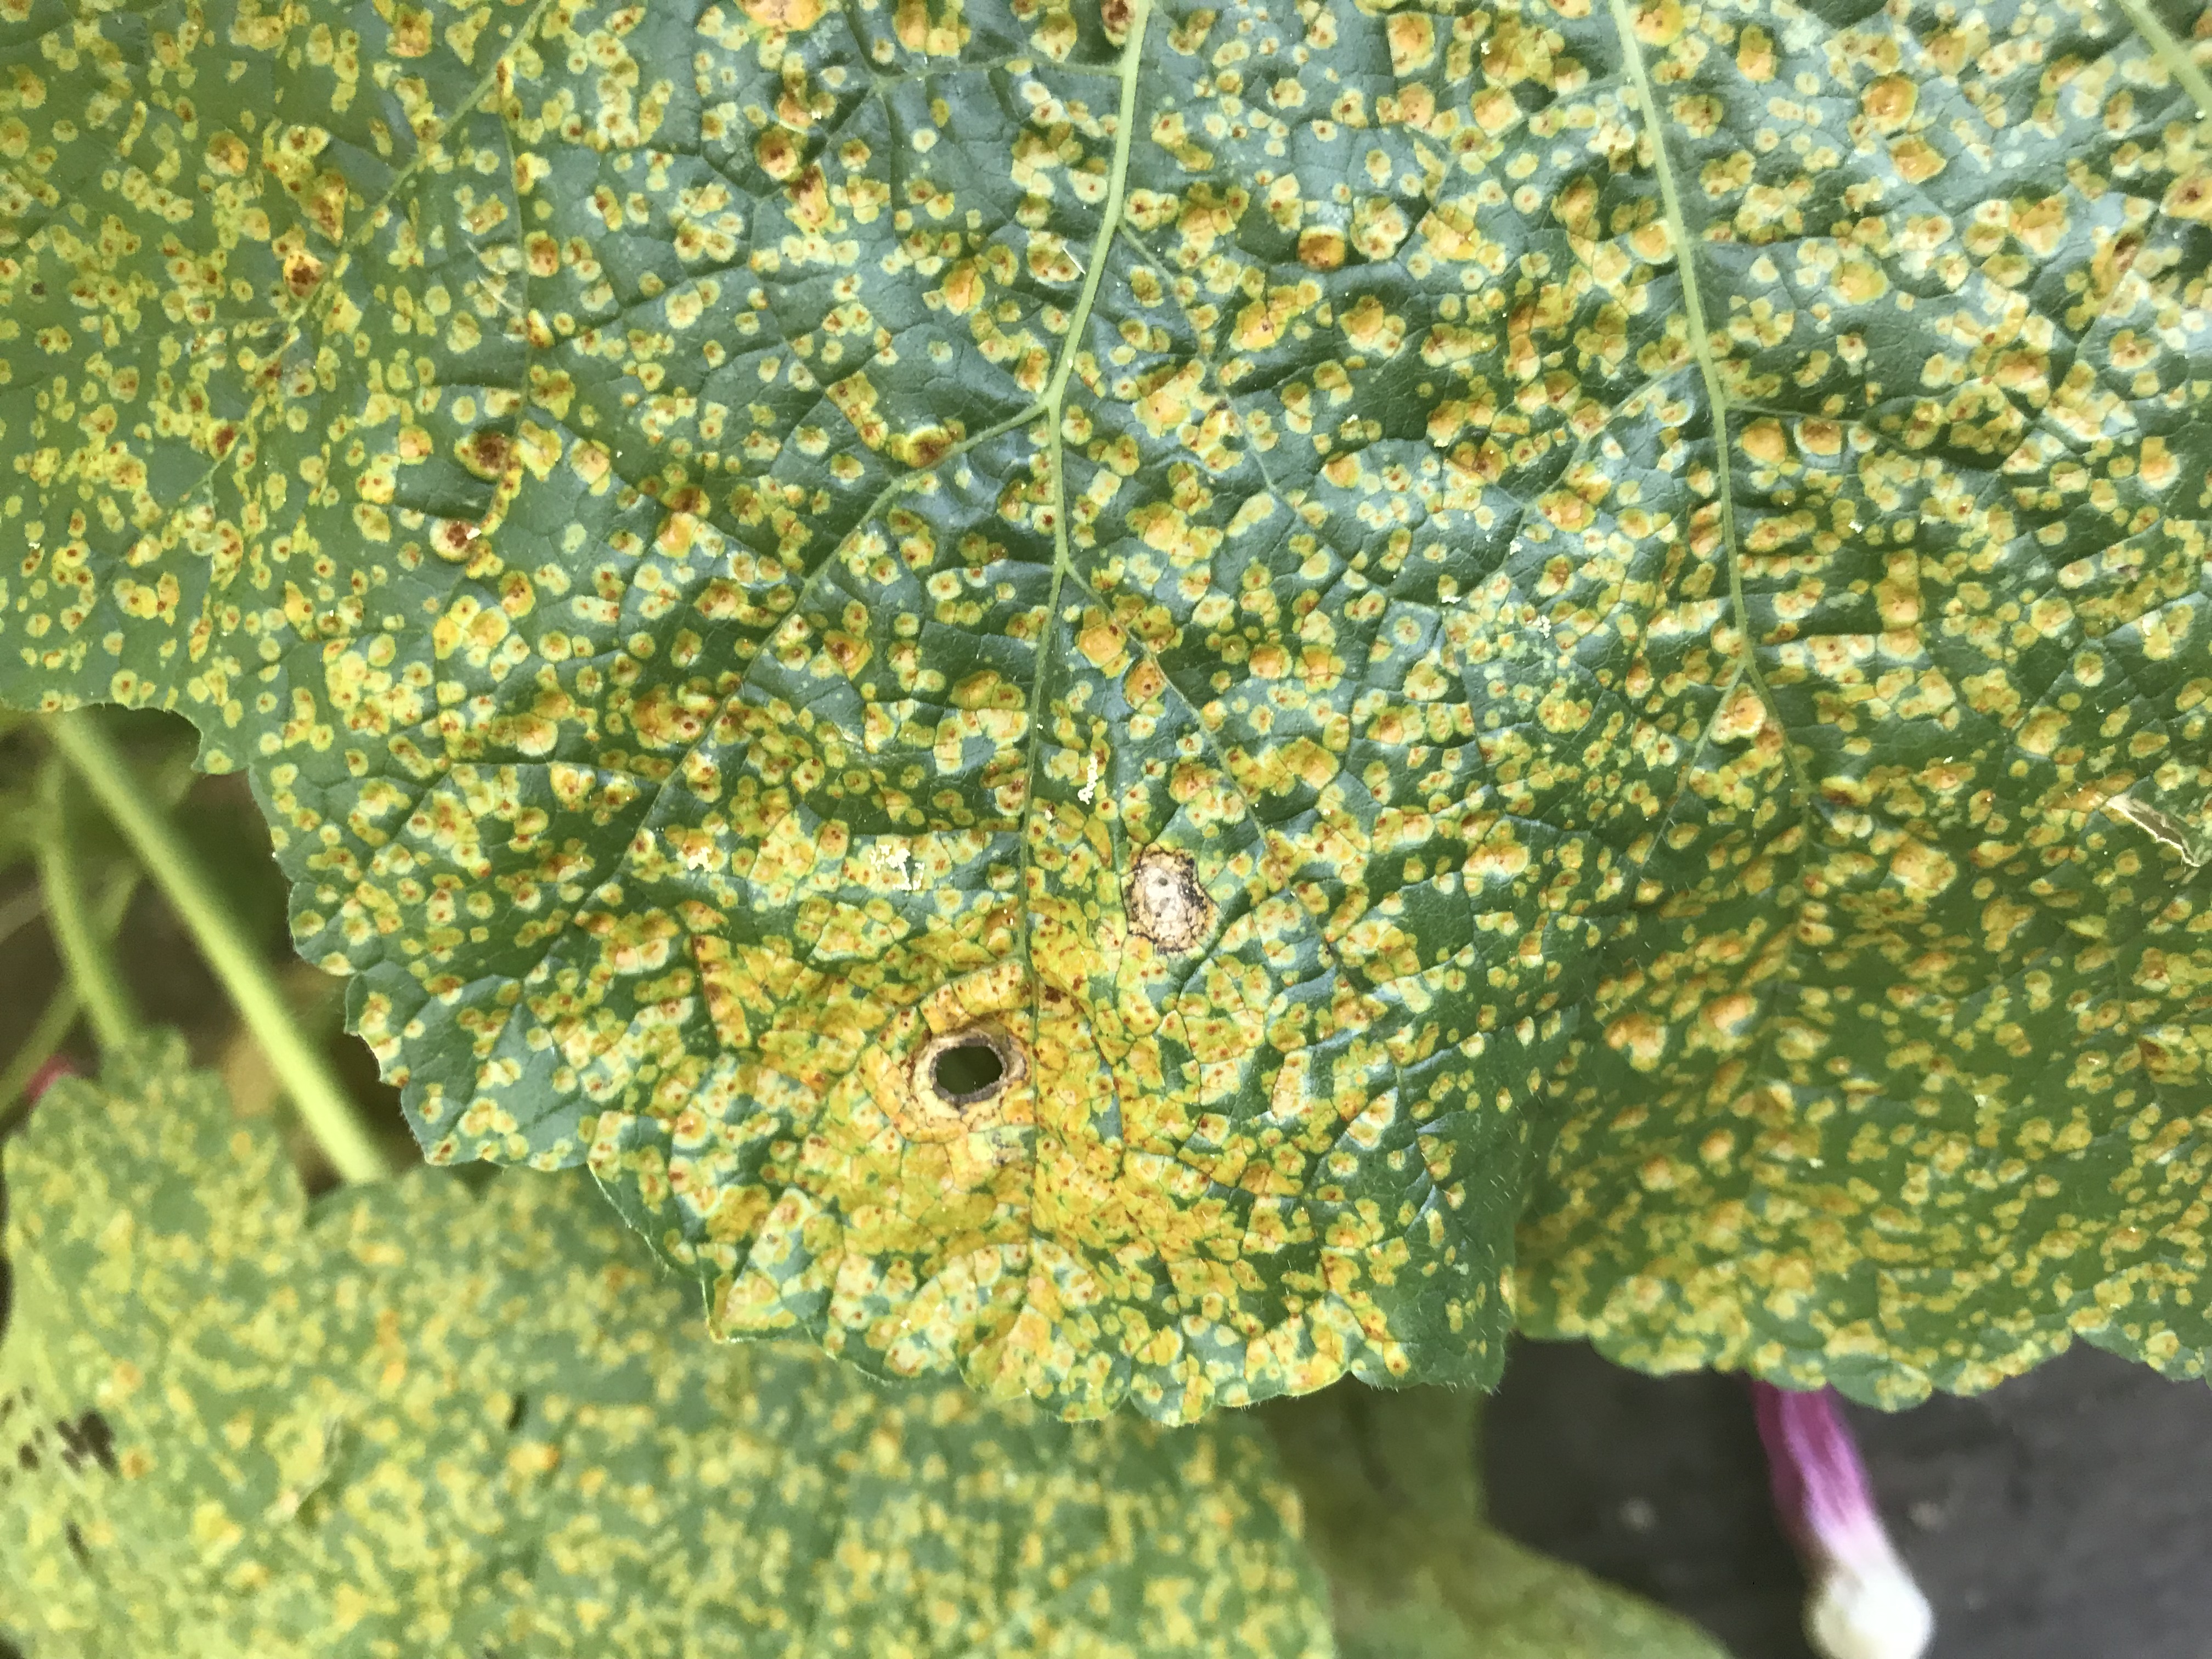
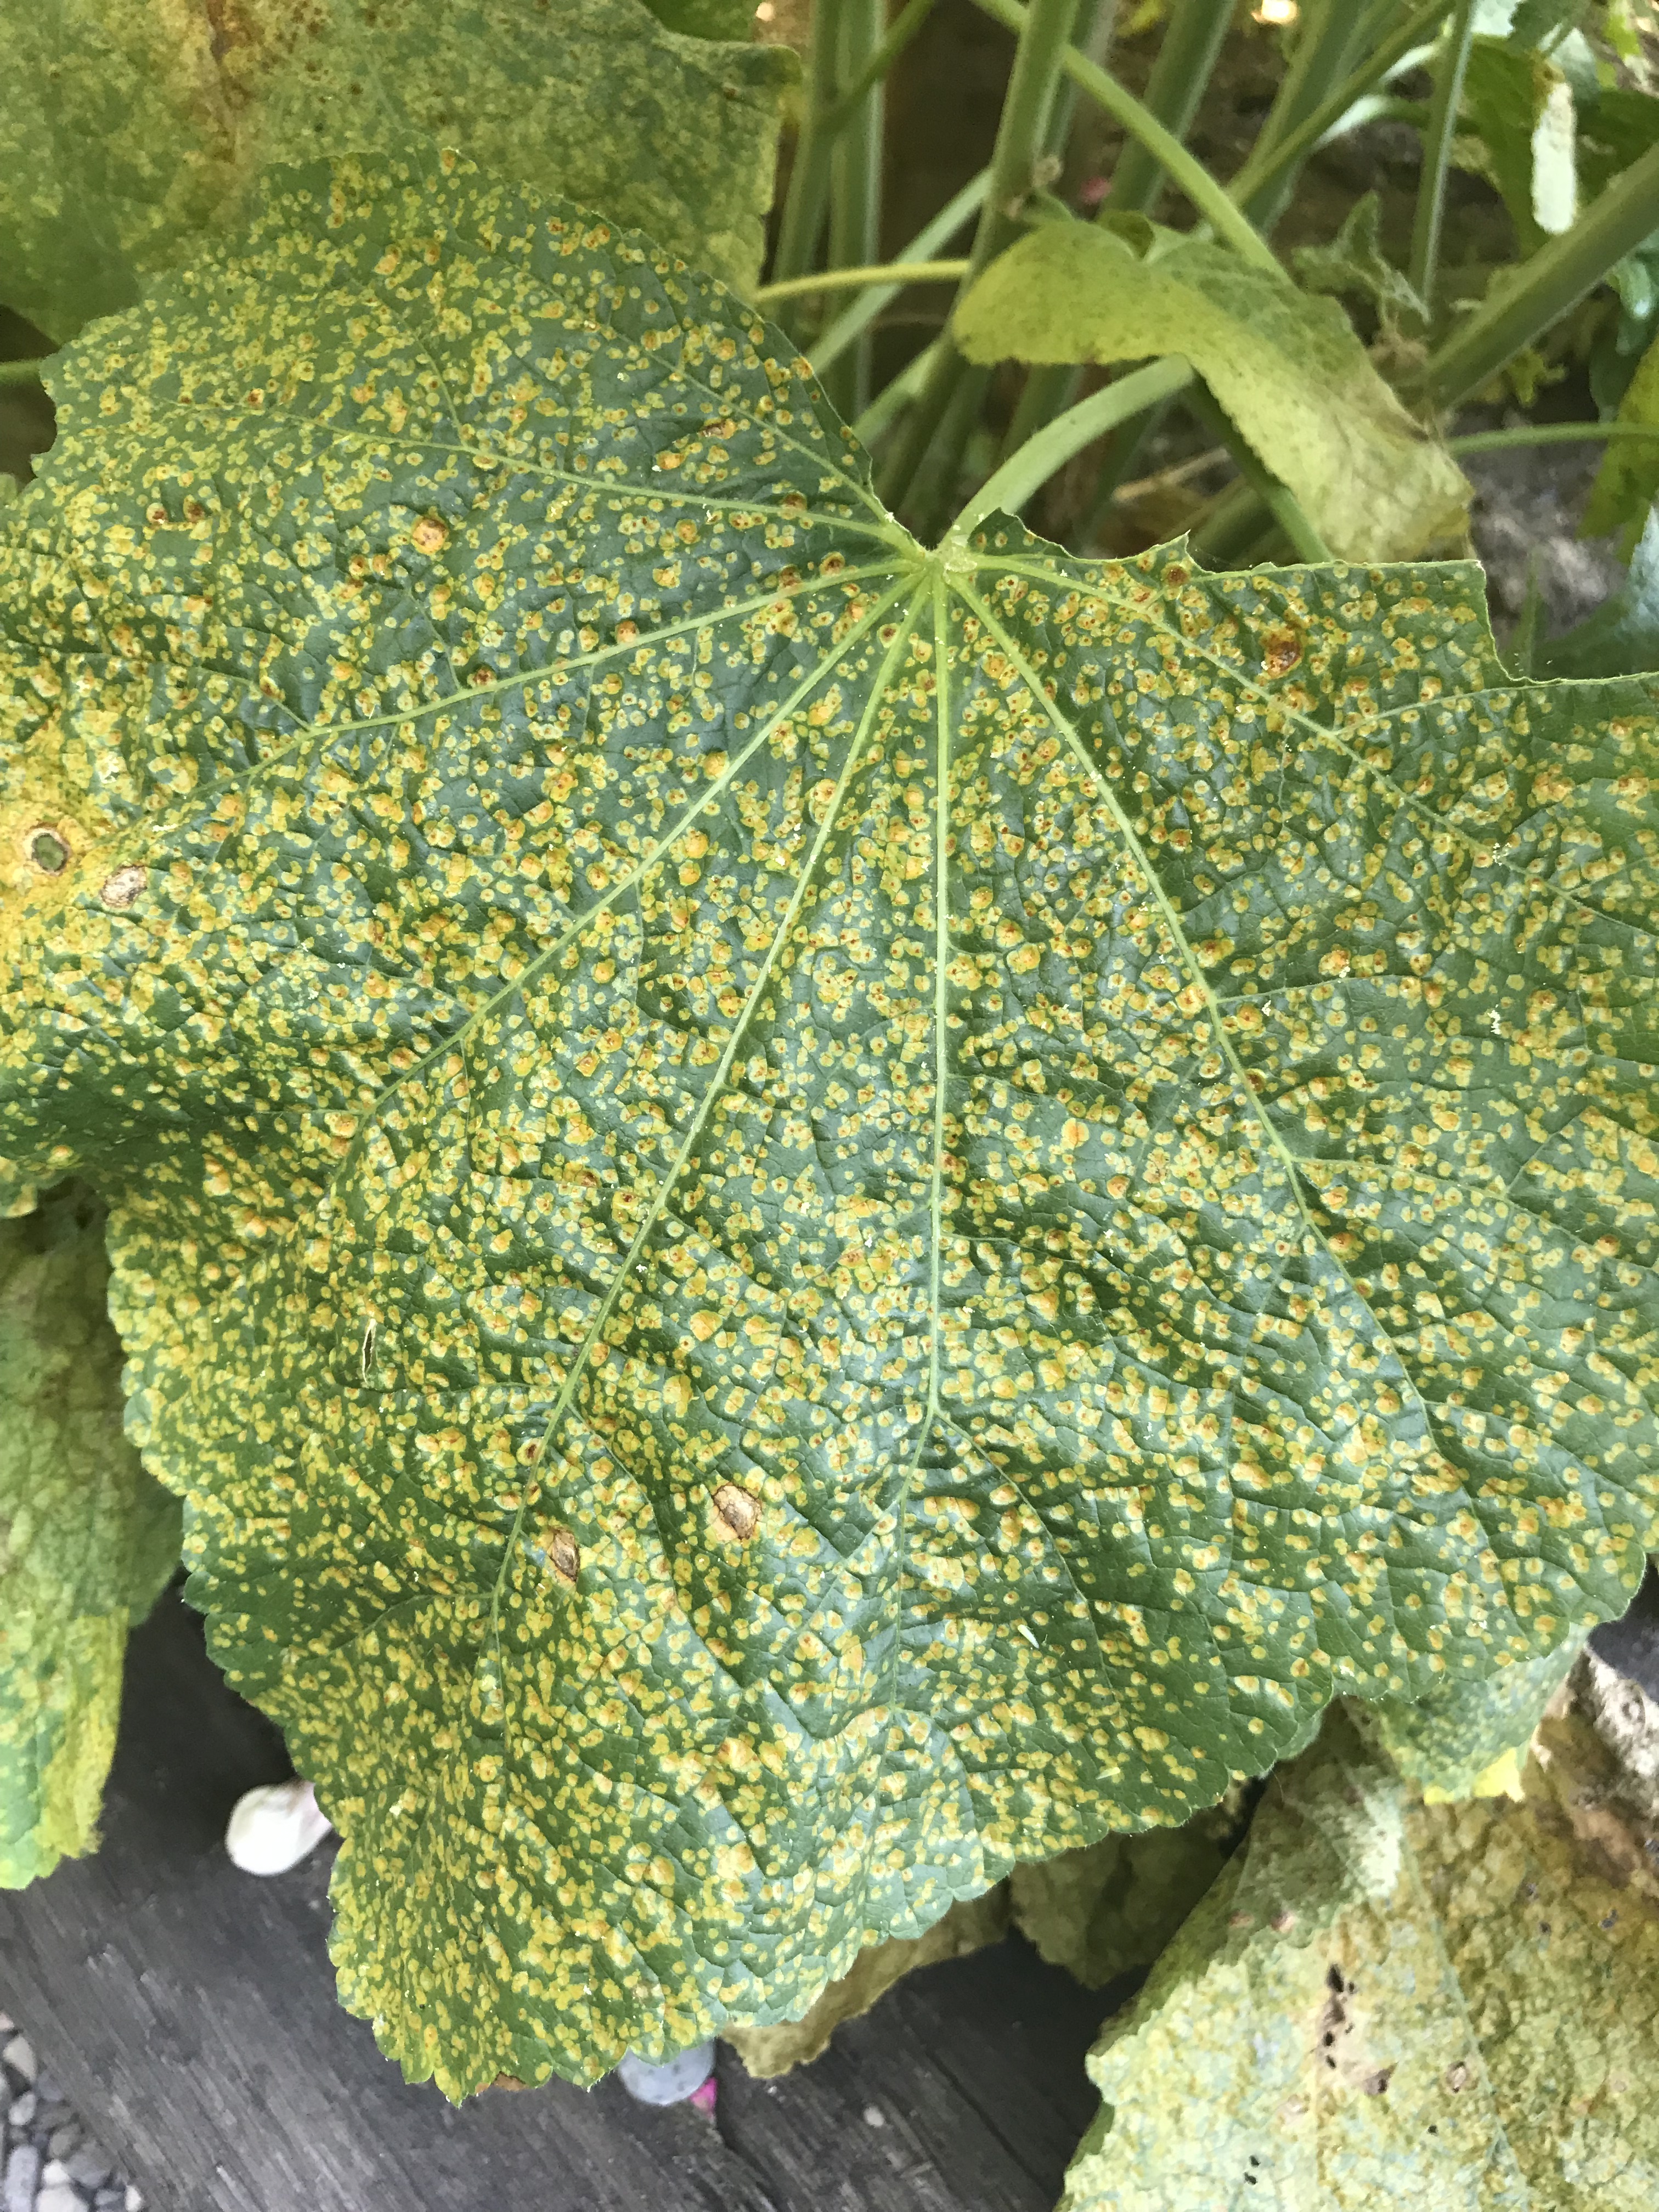
Dealing with “rust” fungus on Hollyhocks
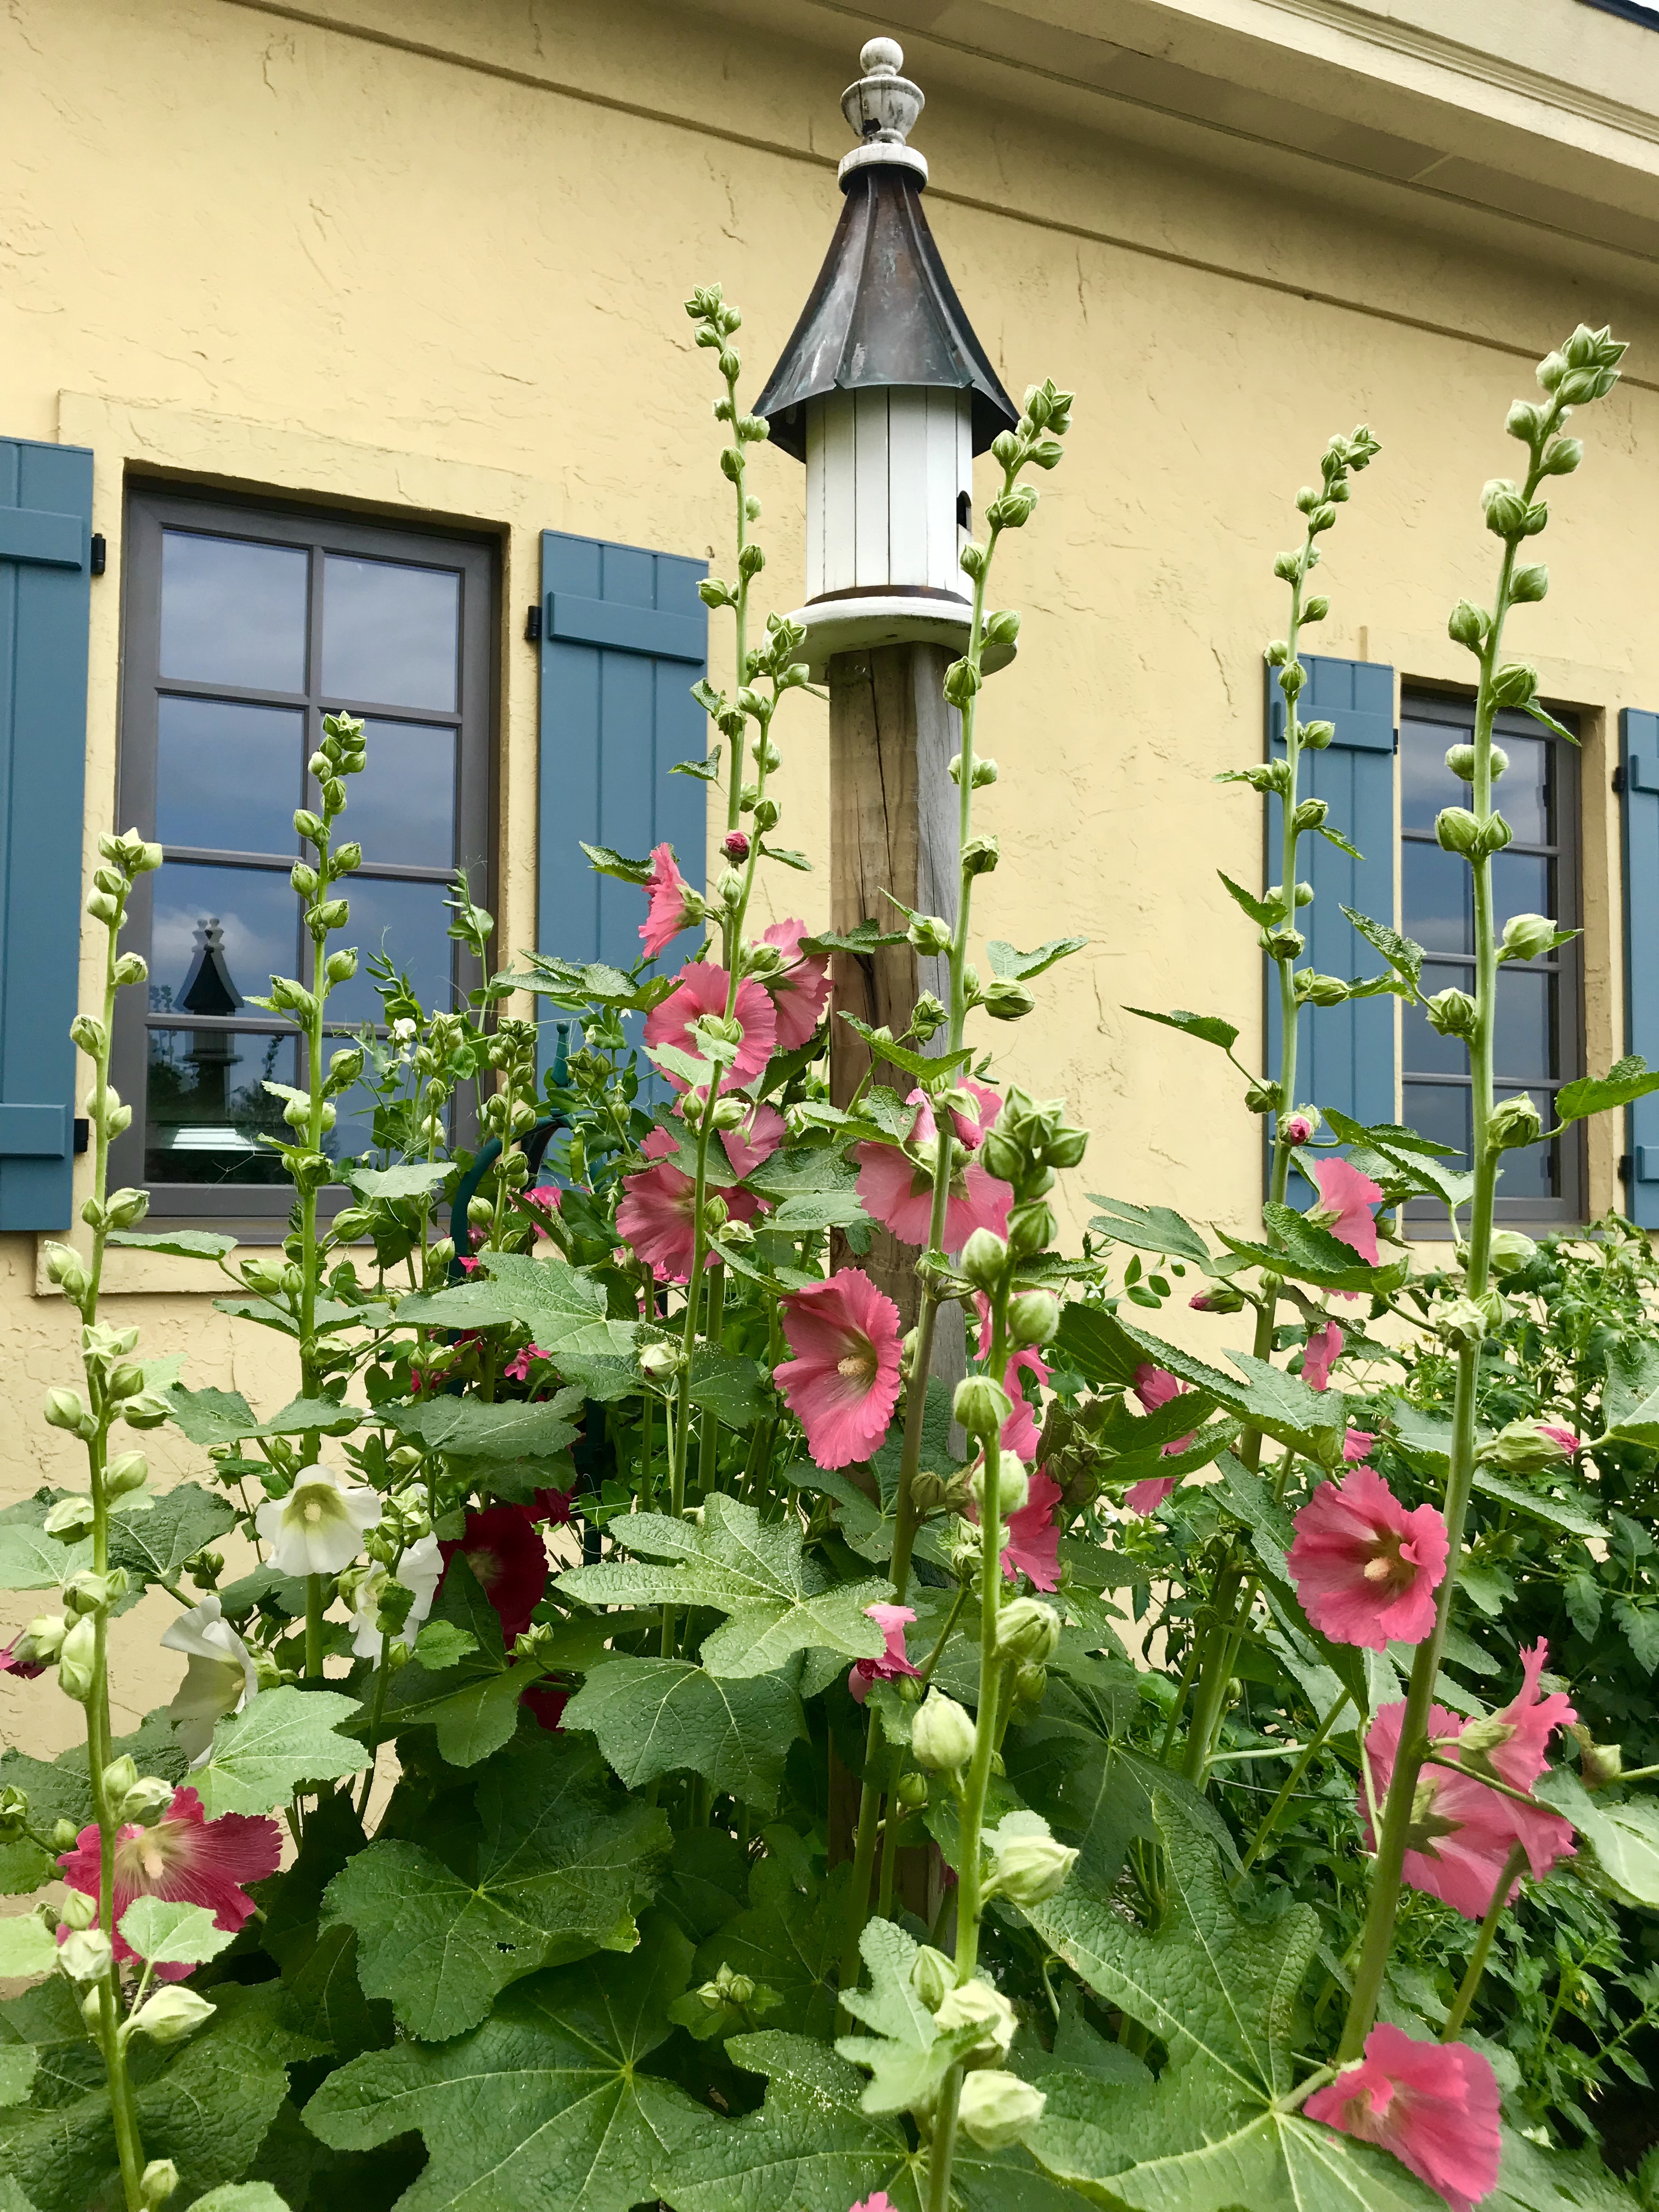
Well this is on of my ‘learn as you go’ type of posts. I’ve had gorgeous hollyhocks for a few years now (grown from seed originally!). They really are a showstopper by sheer size alone! Last year I noticed that the leaves started to become mottled just about at the same time that the flowers started appearing. I thought maybe it was just the lifecycle of the plant – obtaining its’ fruition and then dropping leaves as it slowly ends its cycle for the season. However, this year that started happening much earlier and it was much more invasive. I discovered the culprit is a rust fungus (Puccinia heterospora). It is very disfiguring and even though it does not destroy the plant, you’d almost rather it be gone that look at it. I am currently treating my plants with a fungicide. Not sure how I’ll do, but will update this post as I go along. Meanwhile, I have copied off some information from a site “Gardening Know How” below.

What is Hollyhock Rust?
Caused by the fungus Puccinia heterospora, hollyhock rust is a disfiguring disease that infects members of the Alcea (hollyhock) family. It begins as yellow spots on top of the leaves with rusty pustules on the undersides.
Over time the spots can grow together and destroy large sections of the leaves, causing them to die and drop off. At this point, the stems may also develop spots. Although the plant may not die, you may want to put hollyhocks with rust fungus out of their misery because of the severe disfigurement.
Does hollyhock rust spread to other plants? Yes, it does! It only spreads to other members of the Alcea family, so most of your other garden plants are safe. There are mallow weeds that are members of the family that can act as a host reservoir for the disease, so it’s best to keep weeds away from hollyhocks.
Hollyhock rust disease occurs anywhere you find hot, humid temperatures. This is especially true in the southeast where these conditions persist throughout most of the summer. Below are some hollyhock rust treatments to try. Bear in mind that you’ll have more success if you employ several of these strategies at once.
When you first notice rust spots, pick off the leaves and either burn them or seal them in a plastic bag and discard them.
- Keep the soil around the plants free of debris, and keep the garden weed free.
- Spread a thick layer of mulch under the plants to prevent last year’s spores from re-emerging.
- Water the soil rather than the leaves. If possible, use a soaker hose so the soil won’t splatter onto the leaves. If you must use a spray of water, direct the spray at the ground and water early in the day so that the leaves that get wet will dry completely before sundown.
- Make sure the plants have good air circulation. They look great growing up against a wall, but the air can’t circulate around them and moisture builds up.
- Cut down hollyhock plants at the end of the season and burn or bury the debris.