Christmas Cards on display
I love receiving Christmas cards, but it can be difficult to display them so that everyone can see them. I have a darling tin with an old-fashioned Christmas scene on it, I tied a ribbon on one of the handles to dress it up and usually deposit the cards in there, that way anyone can take it and browse through. However, I came upon this idea and I think it’s absolutely the best. So easy and coffee table ready for anyone. I don’t think you could resist picking it up! Just purchase a simple ring and hole punch your cards, attach a ribbon or two and there you have it. Try this one for sure.

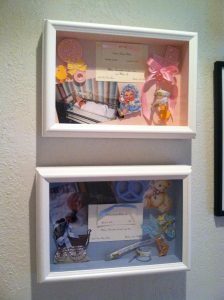
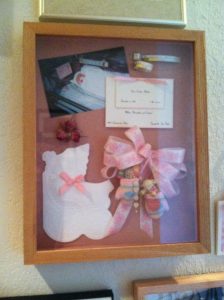
Baby Momentos in Shadow Boxes
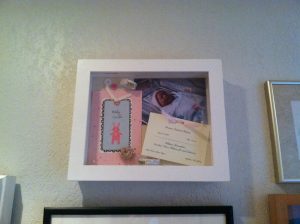
When each of my children were born, I created a shadow box of small momentos. Some of the cards and gifts, even some of the wrapping, was so sweet, I had to use them in the boxes. This is such an easy project. All you need is a shadow box, nowadays available at any craft store in many sizes and colors, a glue gun, silicone glue and of course, your momentos. I used the birth announcement and always a photo as them as a newborn at the hospital, the ID bracelet, etc. Arrange in a manor that is appealing to you first. After you are satisfied with your collection, then glue down. The silicone glue will be able to give you some hight between things that lie flat naturally. Allow to drie thoroughly before placing another object over the underlying one. Have fun with this one! Here are some pictures of mine for inspiration.
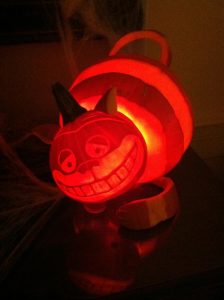
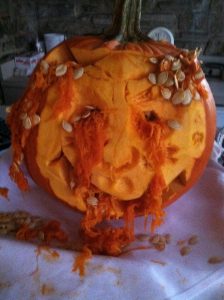
Great Pumpkins!
I was recently at a party where the staff competes for prizes with their creative pumpkin carving ideas. They are extremely clever – try them for yourself.
Ribbon Holder

Are you addicted to spools of ribbon like myself? I just can’t help it, I can’t resist a bin full of ribbon on sale – like, really on sale! I stock up for all those hostess gifts and holidays, etc. Some are so pretty, I hate to use them – silly! Nonetheless, the question arises, how to store them all. Well of course there are always the trusty clear plastic bins, but I prefer having them out and handy. Here is a project that can be done in a day or two. Again, difficulty level – easy. All the supplies can be purchased at any craft store.
You will need:
- 1 wooden dowel (these usually come in one length – about 1 yard long) about 1/2″ diameter or smaller
- 1 wooden ‘plaque’ of your choice – round, oval, square
- 1 bag of wooden finials, to fit the diameter of your dowel
- wood glue
- paint
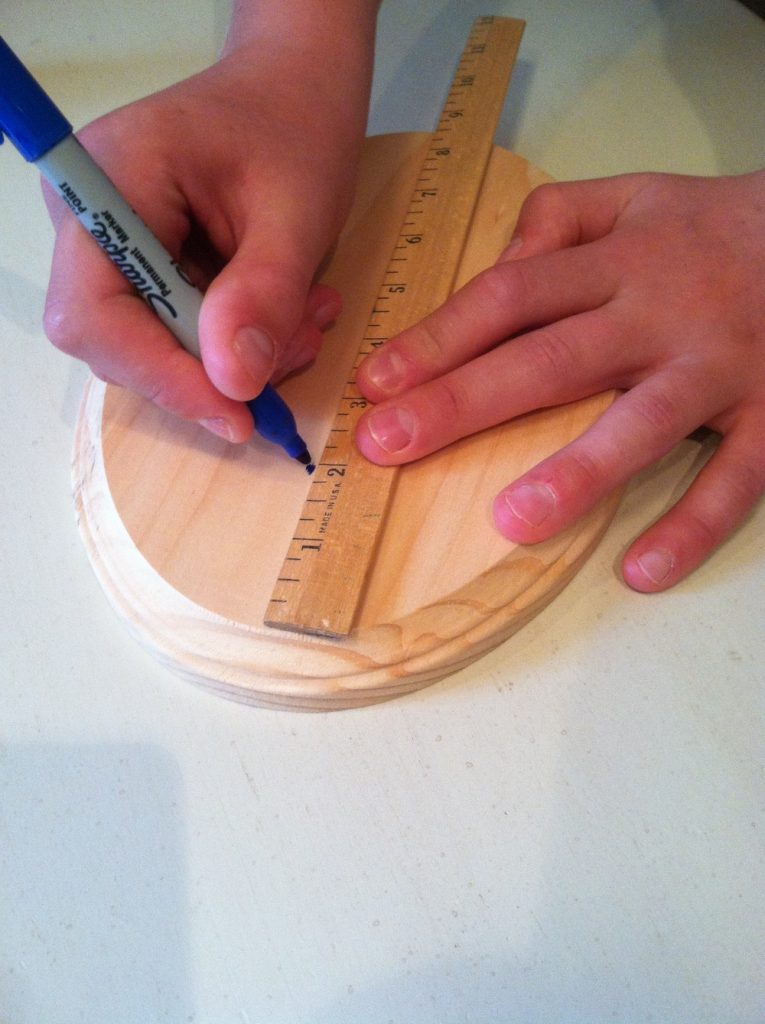
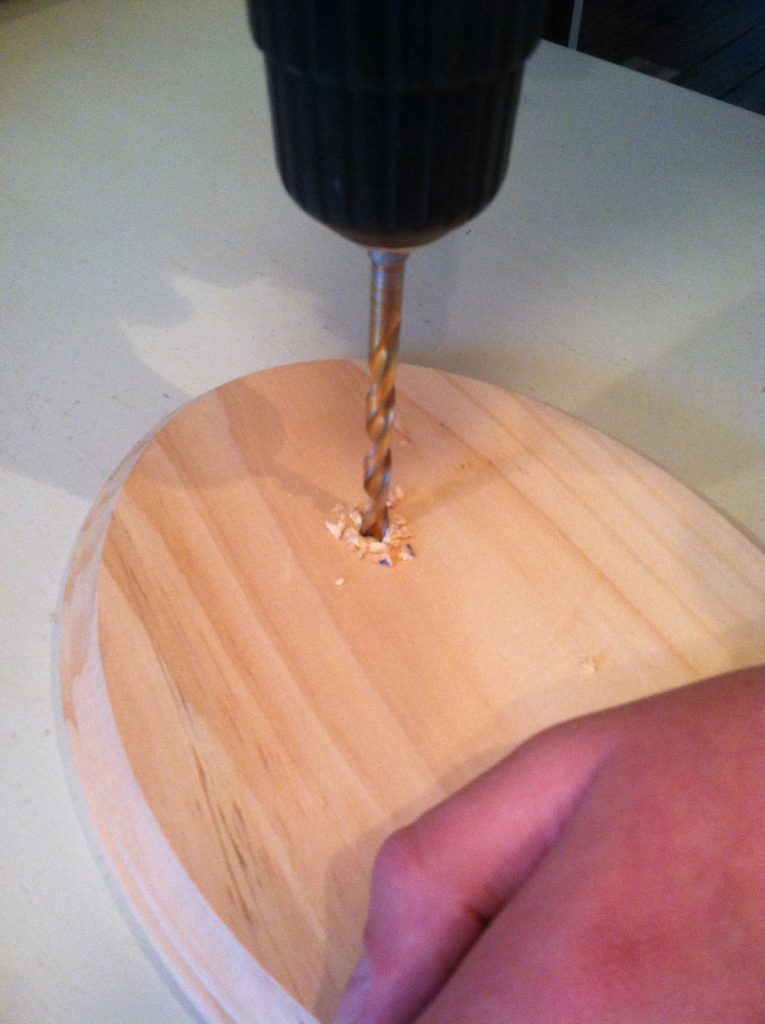
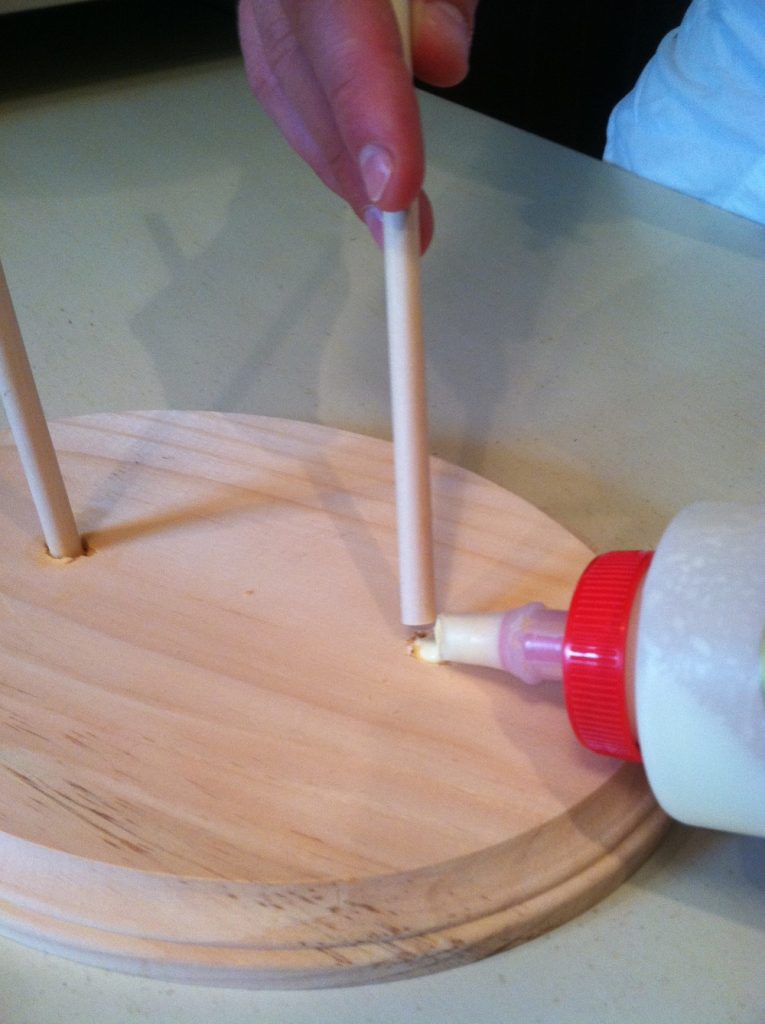
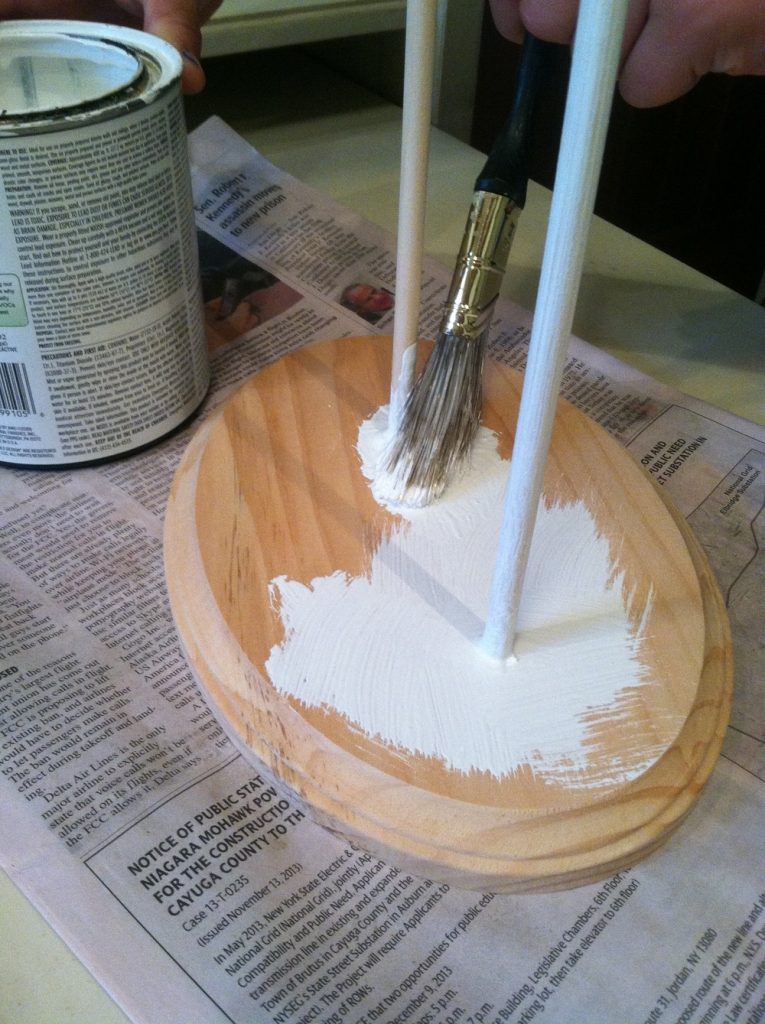
Cut the dowel down to two different lengths, say one about 12″ long the other 9″. Discard the rest. With a power drill fitted with a drill bit the same size as your dowel. Drill two holes into your plaque about halfway through the wood. Make sure they are spaced far enough apart to accomodate two spools of ribbon. Glue the dowels into the holes. You may have to prop them up against something to keep them straight and upright until they dry thoroughly. When dry, you are ready to paint – your color of choice of course. Don’t forget to paint the finials. The finials are purely decorative, you can eliminate them if desired, but I think they add that finished touch. Now you have your finished product, ribbon on hand and ready to tackle gift-giving season.
Cork Art
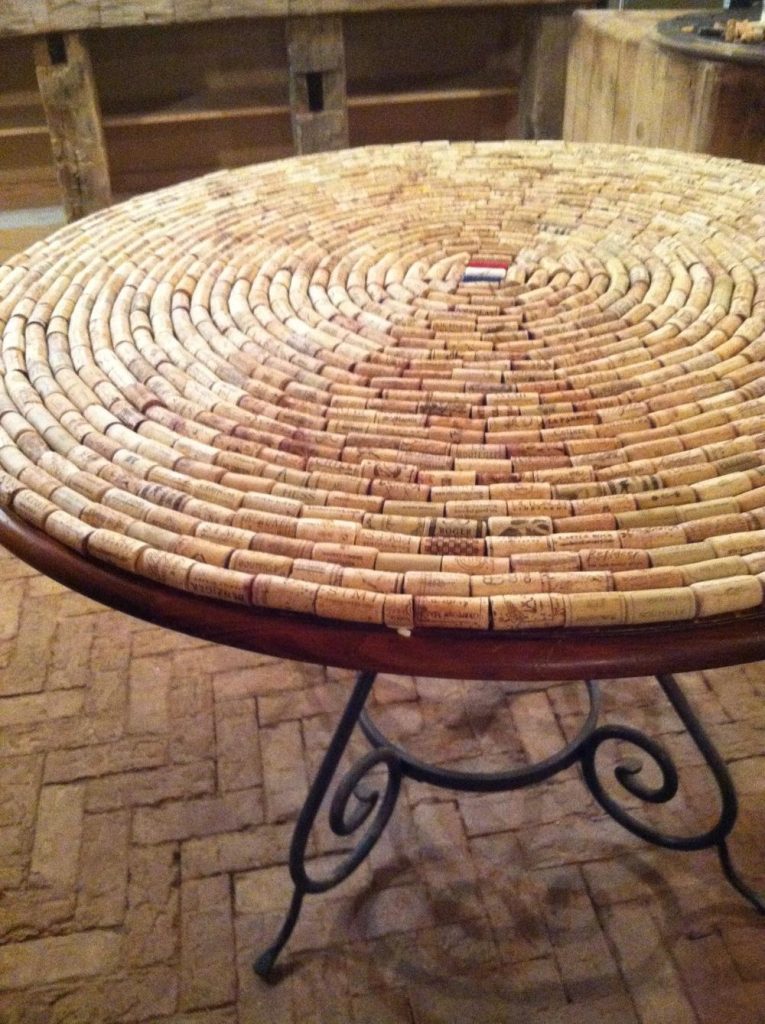
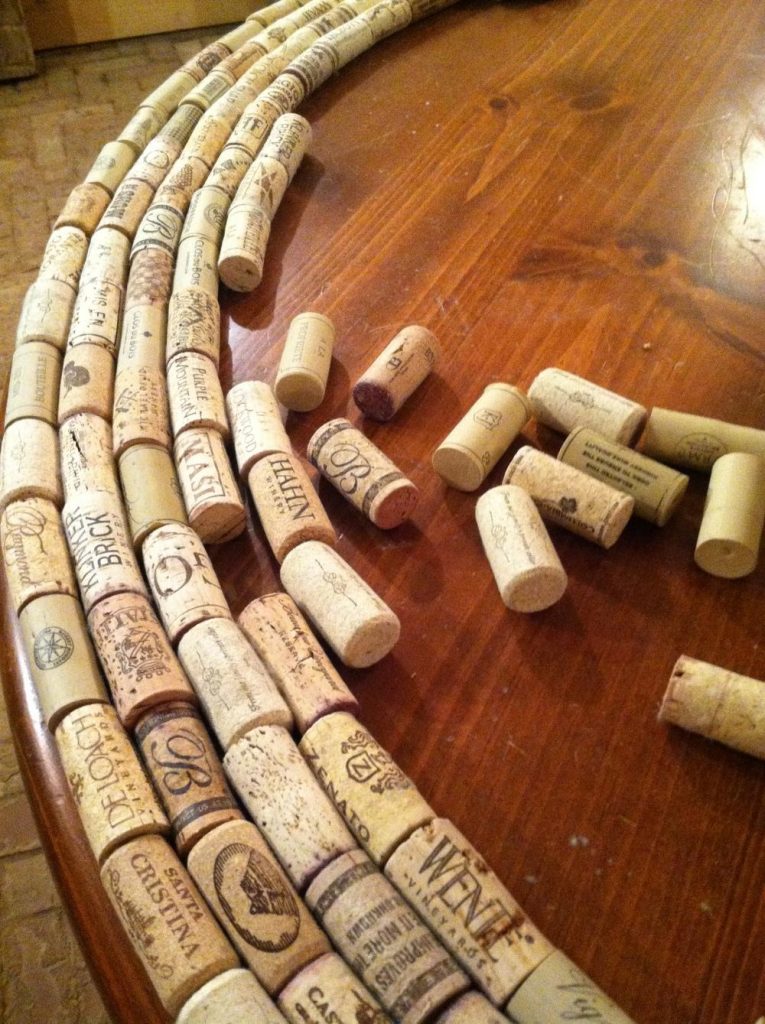
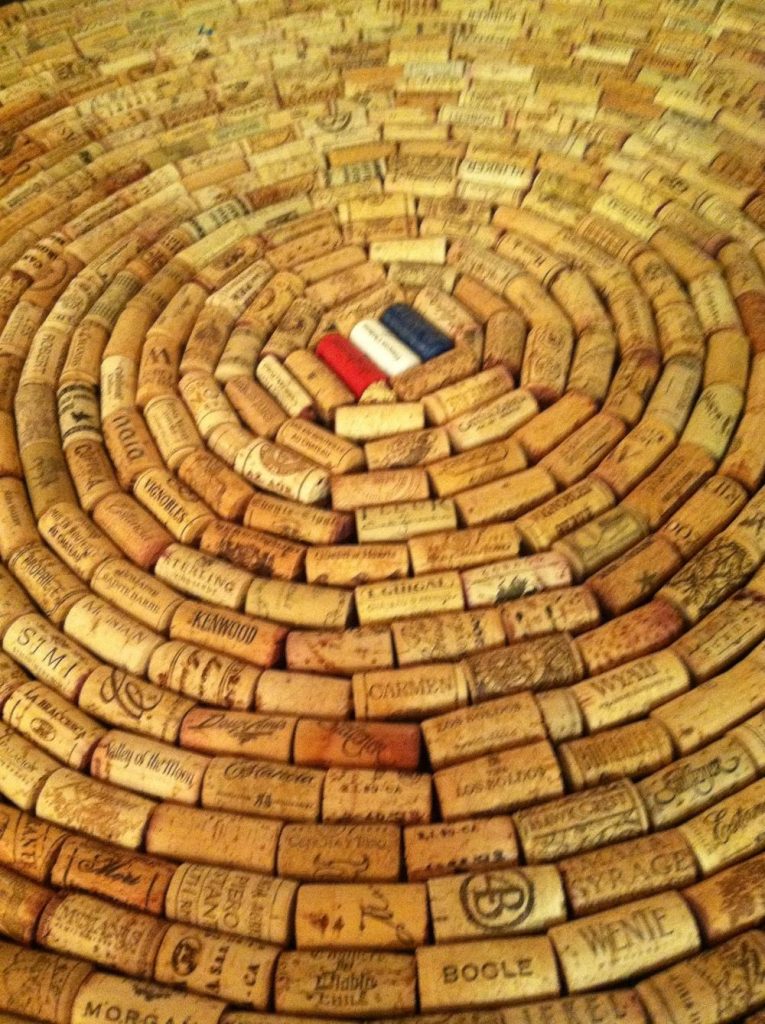
I’ve been saving wine corks for a “long” time – note, emphasis on long. I hate to admit how many I have. Well I can honestly say I’ve savored every sip! Anyway, I had grand ideas of what I was going to do with all of my collection. I finally tackled a project that turned out fabulous. Ability level – Easy! I had a table that I loved, but the top was not in the greatest condition. I decided to cover it in corks. The process is simple, use wood glue (it dries harder and more permanent) and place corks in any desired pattern. I went in a circular design to mimic the table. You could also do stripes, herringbone or the two by two pattern used on walkways. Use your imagination! I will be covering mine with glass. This is a great table for use in a wine cellar, finished basement, or kitchen if desired.

