Summer!

Summer has finally arrived (almost) here on the east coast.  I’ve added a new feature to my gardens – the darling garden shed shown above.  I’ve pined over it for years and finally committed to it last fall.  I’m busy making a small garden to the right of the shed with perennials and low bushes.  I haven’t had too much luck with roses, but am going to try some shrub varieties as well.  My kitchen potager has been planted with several varieties of tomatoes, better boy, early girl, super sonic and an heirloom variety as well as cherry tomatoes, peas, beets and mixed herbs for cooking.  I love this time in the early stages of summer.  Planting with the hopes of seeing great results later in the season.

Over-Wintering Geraniums

At the end of summer it always seems like such a shame to toss some of the geraniums that have done exceptionally well.  I have successfully found a formula that works to over-winter geraniums without having them take over the living room for the winter months.

Leave your plants out until the weather starts to really turn, as in frost warnings.  Geraniums actually like cooler temperatures, but will not take a frost.  When it is time to take them in, place them in your basement.  Near a window is not necessary.  If you wish you can cut them back a little, but I usually just put them down there and forget about them.  They will turn brown and drop their leaves.  You don’t have to water or anything.  When the calendar turns to late February, I take them up to a room where there is a sunny window.  They will have grown long thin pale green shoots by now, this is your indicator that the plant is still growing.  Clean off the dead leaves and cut back the plant on the stems just above where the thin green shoots are.  Water well and fertilize.  The plants will start to bud out.  After a few weeks trim the plants back again.  This will result in a lush thick plant, not the thin branchy plants that are typical of over-wintered geraniums.  Once the weather is warm enough, move outside into the full sun, but not in a cool breezy spot.  Be sure not to leave out if too cool or the threat of evening frost.  The plant is still coming out of it’s dormancy and will not tolerate significant temperature changes.  Follow these guidelines and you will have just as lush of a plant as the previous summer.

Last from the Garden

The garden is soon to be put away for the season.  These beautiful beets and some scallions are the last to be pulled.  I tried this variety at the recommendation of a twitter follower, Touchstone Gold.  They are not only beautiful but delicious as well!

I’d never planted scallions before, but after seeing a tip on Pinterest, my curiousity was piqued and I had to try.  When you purchase scallions from the grocer, cut off about 1″ of the ends with the roots attached.  Just plant those pieces in the garden and watch them grow! Results above!

Clematis

This is a really incredible variety of clematis called Peniculata.  Once established, it really proliferates as evidenced by my pergola above.  It blooms in late August through September and really puts on a show.  It will completely die off in the winter.  In the spring I clean away all the dead branches and cut it down to almost nothing.  This is the result.

Grape Jelly

Well the bowl of grapes from my vines has been turned into delicious jelly.  I’d never made jelly before, just jams.  I didn’t realize just how easy and how satisfying it was.  You’ll find a recipe for jelly inside any box of pectin.

Produce from the potager

After a few very hot months paired unfortunately, with a serious drought, the gardens have finally begun to thrive.  And true to form the tomatoes always seem to come at once.  This year I experimented with a few heirloom varieties and they are a success!  Large and juicy.  I’m also growing scallions for the first time and they seem to be doing well.  Along with various herbs, beets, cherry tomatoes of mixed variety and peppers, the potager is producing nicely.

My grape vines have finally matured and this year I actually have a crop to do something with.  I experimented with a grape jelly a few weeks back and the results were so good, I’ve decided to make some more.  So the bowl-ful above will be jars of jelly in a few days.

A rooster in the hen house!

Unfortunately this summer, I lost one of my sweet hens to, I believe, a hawk.  After scouring the area for days, I had to face the fact that my little hen was gone.  Last year they free-ranged happily without much danger.  Now I was terrified to let them out without supervision.  I hated to keep them penned up all day, despite their new home with the ‘run’.  They so enjoy pecking around in the lawn, and yes, the gardens.  So I looked to the web for advise and many suggested a rooster, for various reasons.  First they are larger and therefore present a bit more of a challenge to predators who may think twice.  Secondly, they are protective of their brood and tend to watch for signs of danger and kluk quite loudly when alarmed which in turns alarms the girls.  Well I was willing to try and found a handsome boy up the road that needed a home.  I am still gun-shy as to letting them out completely on their own, and usually make sure they are checked on frequently.

The New Coop!

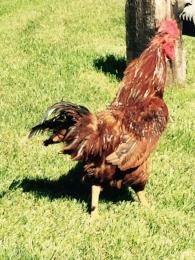
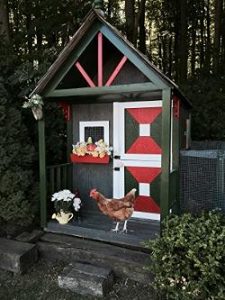
Penelope checks out the front porch.

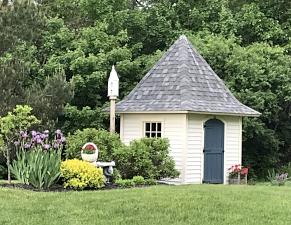
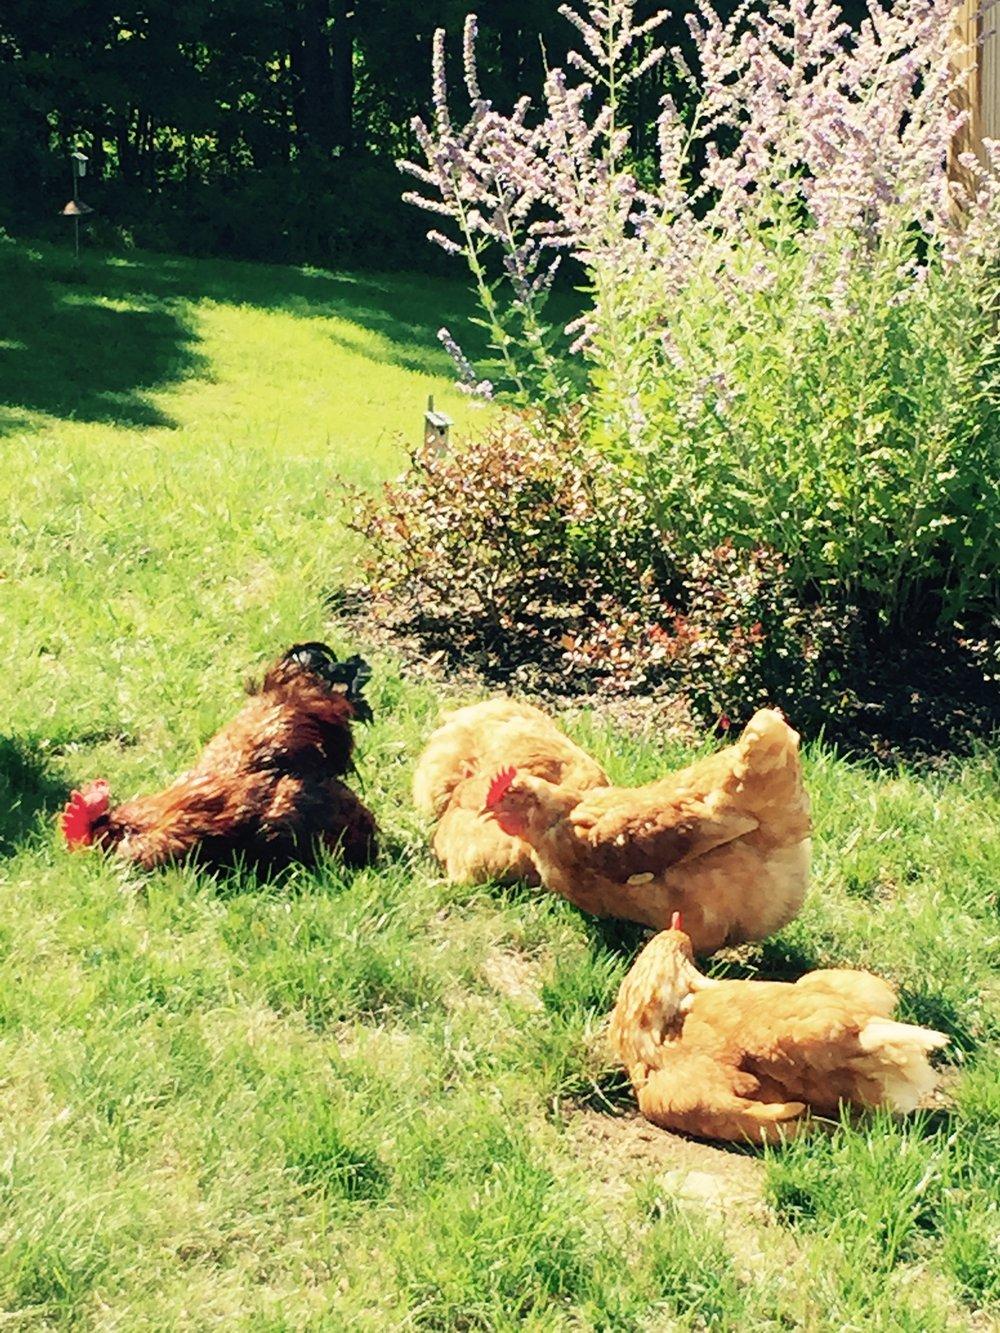
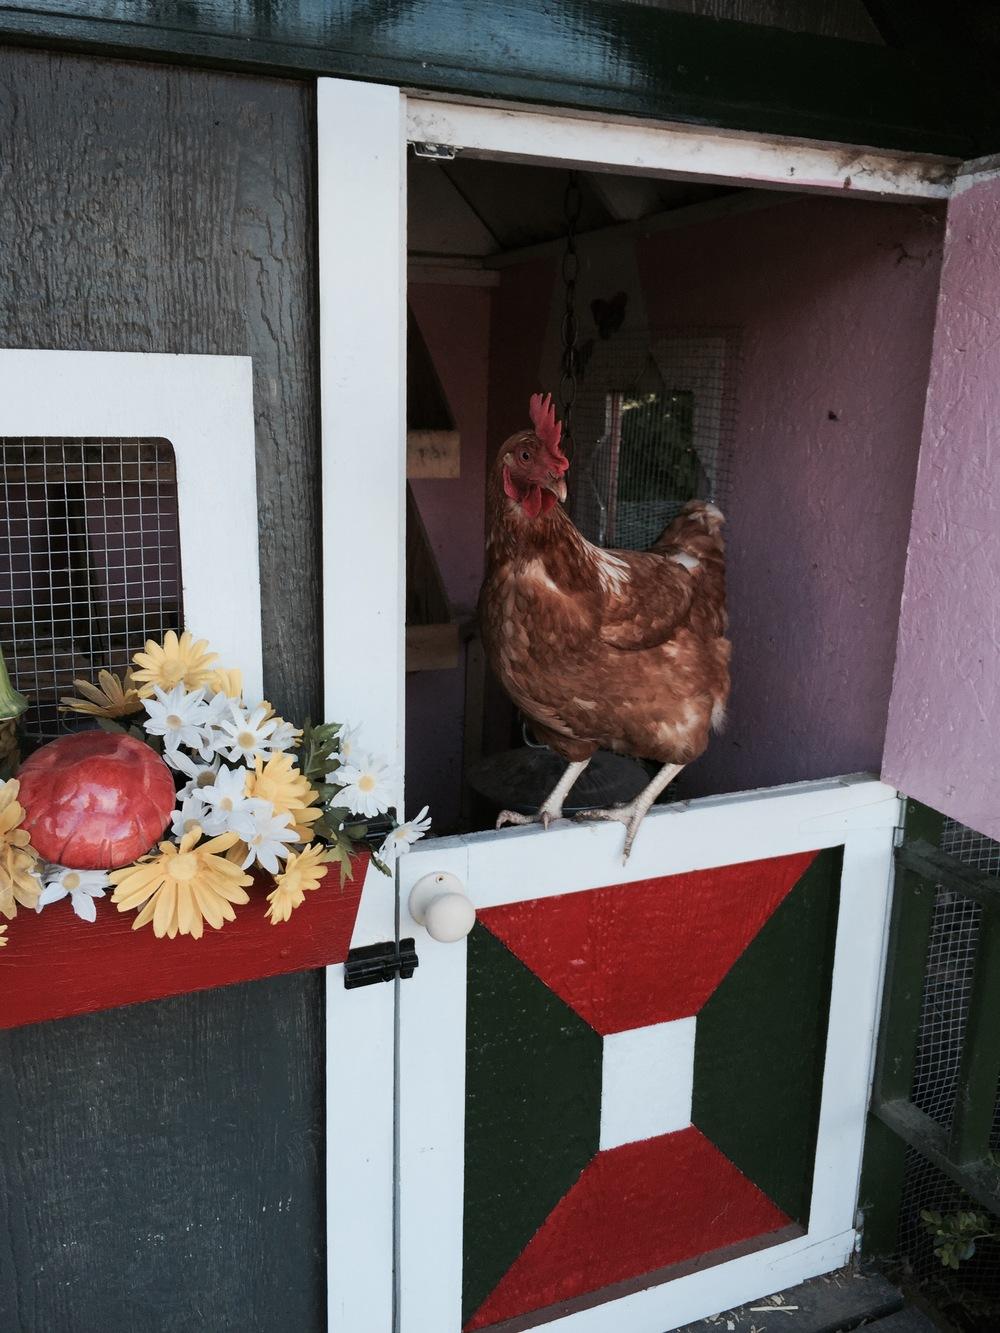
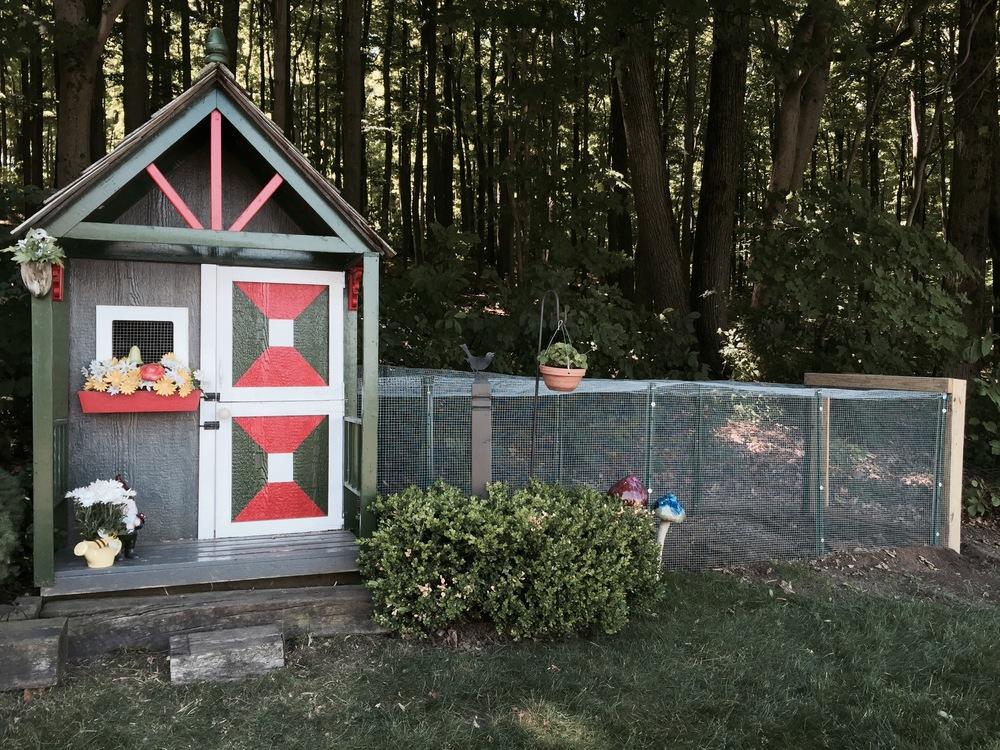
The time had come to move my girls into a new home.  They had out-grown their previous coop and since they all lay eggs, also needed nesting boxes in which to lay them.  I also wanted to provide them with outdoor space or a ‘run’ for times when we are not around so they have the opportunity to go outside and scratch, take dust baths, and do the things that chickens like to do.  It had to be very secure, since their primary predators – raccoons and weasels are very crafty and in the case of the weasel, can squeeze into very small openings. After a little convincing that they had out-grown the playhouse, my daughters reluctantly handed over the keys to the new owners – my hens.  I cut a hole into the side so as they can access the outdoor pen.  Made a door with a latch so they can be closed in at night when needed.  The outdoor pen or ‘run’ as they are usually called, is constructed of very sturdy metal stakes driven into the ground.  Then we wrapped a very strong metal mesh securely around and over the top.  I hung nesting boxes and a perch inside the coop.  Their food and water containers are suspended from hooks to keep them clean.  There are many complexities to keeping chickens if you have their best interests in mind.  I’m not a pro – still learning as I go along, but I have some key points to share I will list below for basic chicken keeping.  My girls are very happy in their new home.  It is said that happy chickens lay eggs…….I have 6 hens and get 6 eggs every day and apparently someone is exceptionally happy because sometimes I get seven!

Some basics for chicken keeping:

Keep their food and water suspended off the ground and away from where they roost, otherwise it will quickly become full of dirt, coop shavings and poop (yes, I said it and it happens – a lot!).

Chickens like to roost at night, so be sure to provide them something to perch upon up off the ground.

This is a good one….as for bedding or coop floor cover, mix very dry leaves and cedar shavings together.  Don’t ask me why, but I read this and it works.  Somehow that coop stays amazingly clean and virtually odor free.  Just add more as needed to what is already there.  No need to clean – ever!

If your chickens don’t free-range, be sure to add some chicken scratch to their run.  This is a mixture of seeds, small rocks and such that gives them a variety to eat plus the rocks aid in their digestion as they do not have teeth.

If they do free-range, I’ll warn you here.  First be aware of predators: hawks, fox, neighbors dogs.  Secondly, if you love your flower beds, so will your chickens.

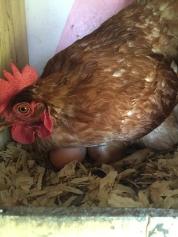
Miss C lays her egg.

The garden is in!

After a testy May, now that it is June, the vegetable garden has been planted.  Here in the Northeast the rule is to generally wait until after Memorial Day.  Sometimes I get a little itchy and want to get a jump on the planting and can usually get away with it.  However, this year we had some real cold snaps and Memorial Day was truly the indicator that the threat of frost would be over.   As I’ve mentioned before, I just have a small kitchen potager, so in went tomatoes of many varieties, beets and some beans.  I’ve also planted various flowers throughout the gardens.  Geraniums, Impatiens, Zinnia’s, etc.  I have come to love Zinnias for their variety of heights, various blooms, and hardiness.  They produce the entire summer and don’t seem to mind hot, dry spells.  Plus their color is vibrant and add real interest.

Time to make plans

It’s only March, I know, but the air is tinged with that certain smell that tells spring is on it’s way.  Time to make plans for the garden.  Early spring is the best time to plant if you are replacing or planting any new shrubbery.  If the snow is gone and the ground is soft enough to dig, take advantage of that very early spring weather.  Very early spring is second best to fall for planting hardy plants.  If your starting seeds, now is the time.  In an earlier post I have included a chart of when to plant according to your zone.  Also, if your feeling ambitious to try to grow something new in the flower or vegetable garden, now is the time to visit your seed suppliers, since many varietals can be sold out early.  If you have over-wintered your geraniums, bring them up and place them in a sunny window.  Cut back any of the long-stringy growth to where there are small green ‘buds’.  Water and fertilize and they will start to flourish.